


🛠️ How to Install Cork Wall Panels – A Natural, Acoustic-Friendly Upgrade for Your Space
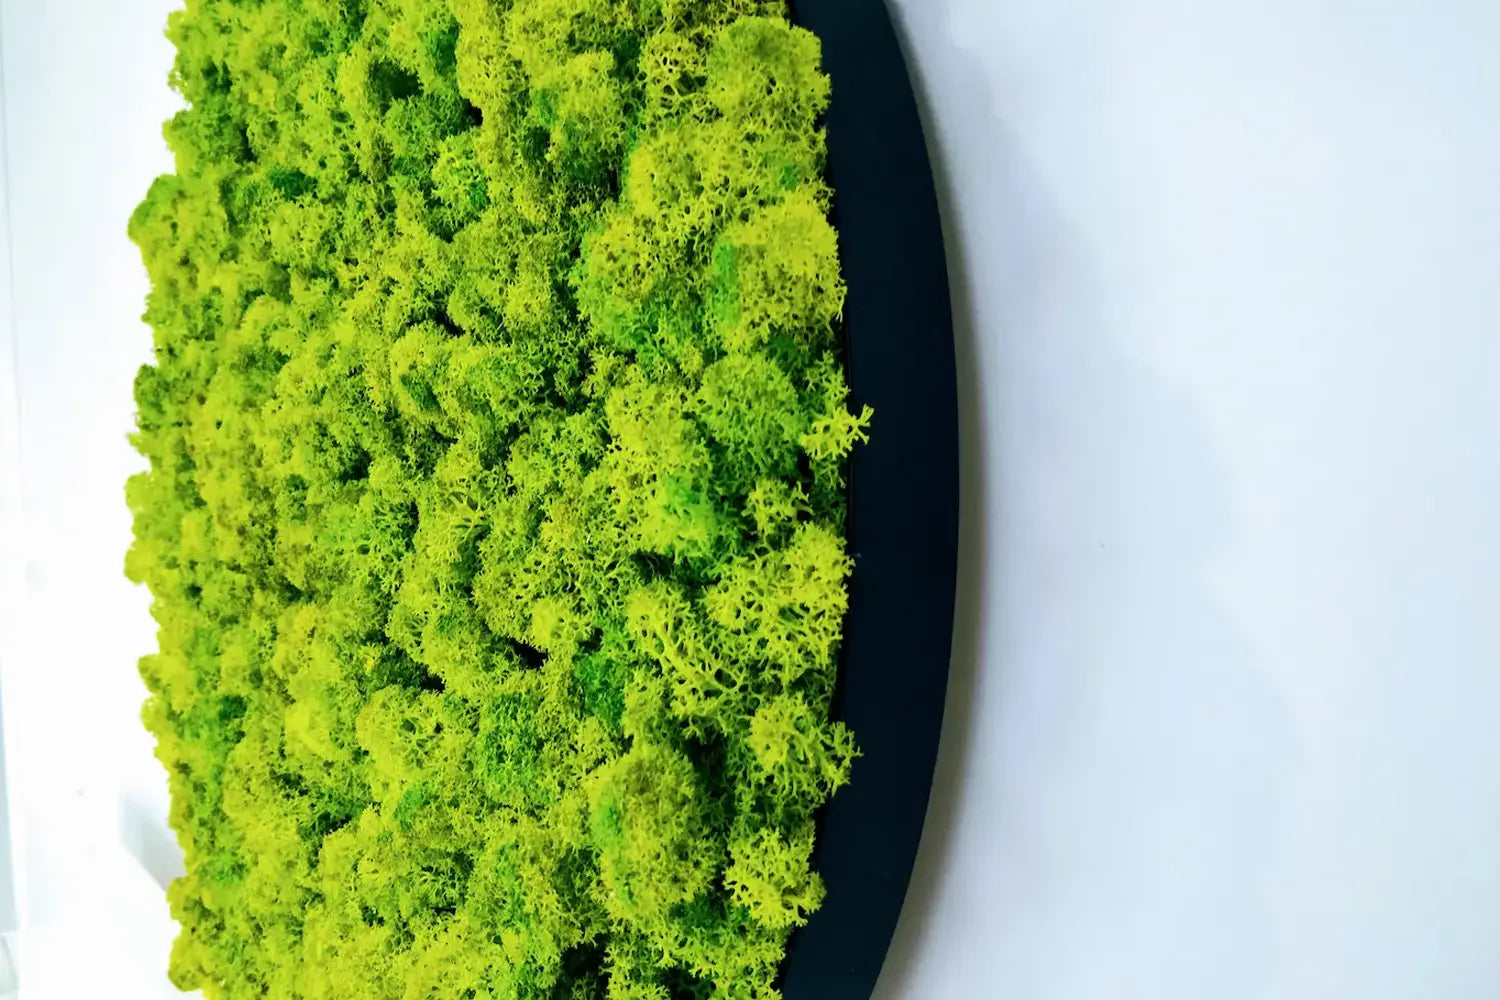
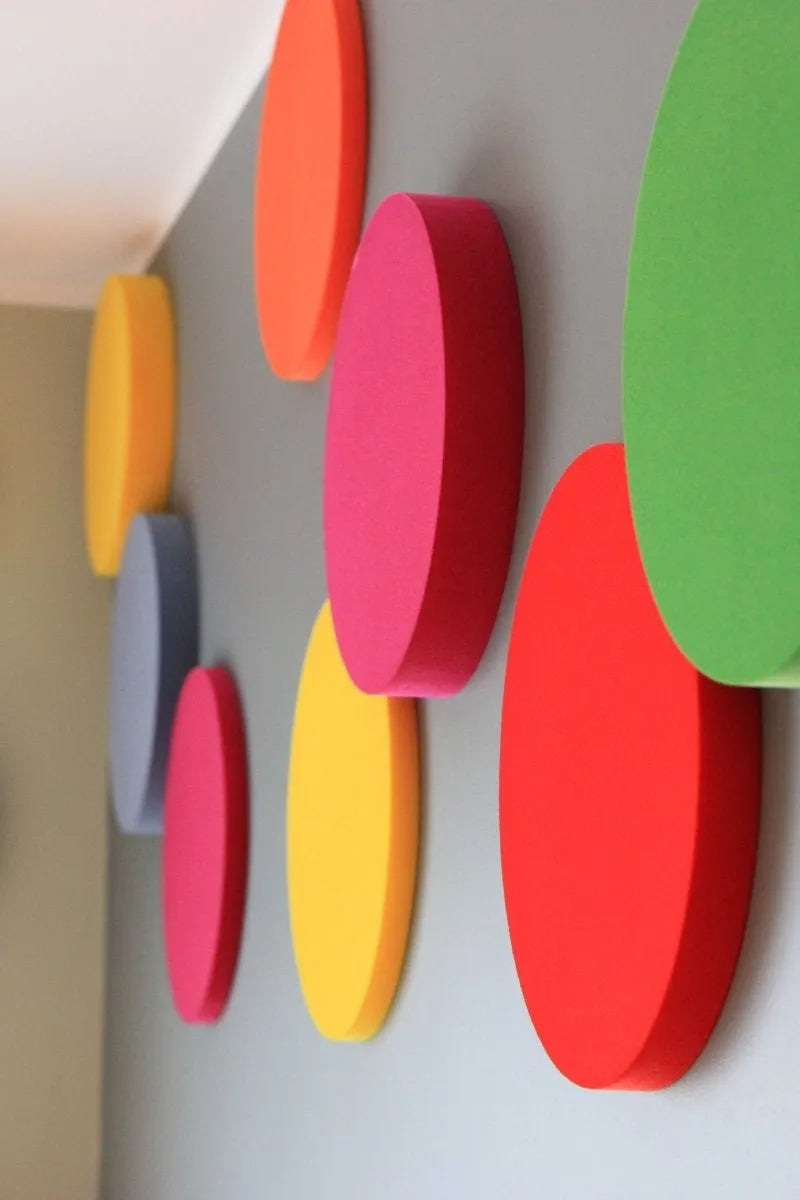
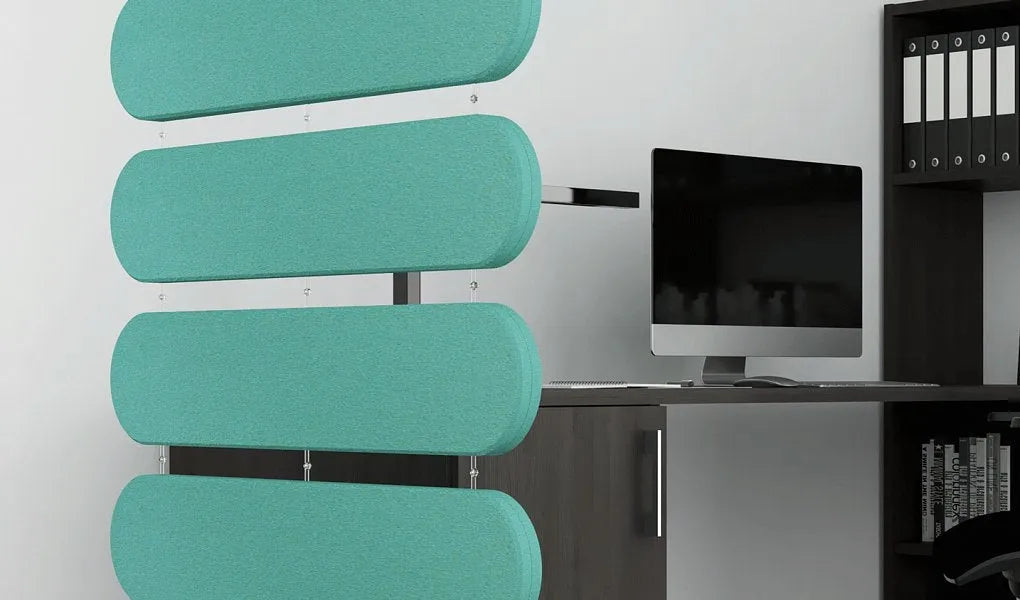
If you're looking for a sustainable, sound-absorbing, and stylish way to refresh your walls, cork wall panels are one of the best interior upgrades you can make. Whether you're designing a home office, music room, living space, or creative studio, 3D cork panels offer warmth, texture, and acoustic comfort—all in one.
In this article, we’ll walk you through everything you need to know about installing cork wall panels, from tools and prep work to layout ideas and aftercare. Plus, we’ll highlight a few beautiful options from Decormania’s 3D Acoustic Cork Wall Panels collection that bring natural design to life.

🌿 Why Choose Cork Wall Panels?
Before we get hands-on, let’s take a moment to appreciate why cork wall panels are such a smart choice:
✅ Sustainable – Harvested from the bark of cork oak trees without harming the tree itself
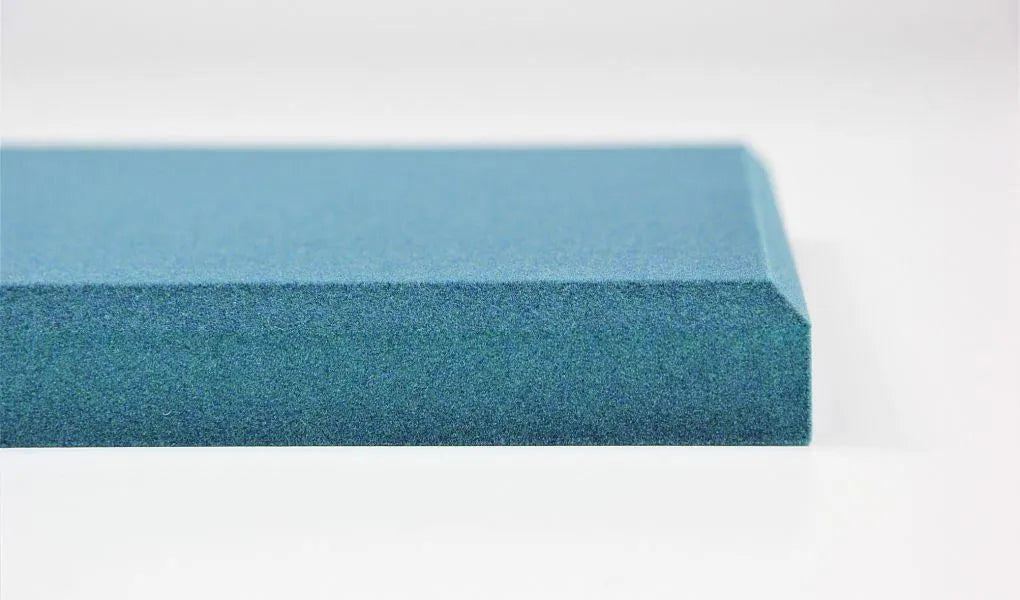
✅ Naturally Acoustic – Cork’s honeycomb structure absorbs sound and reduces echo
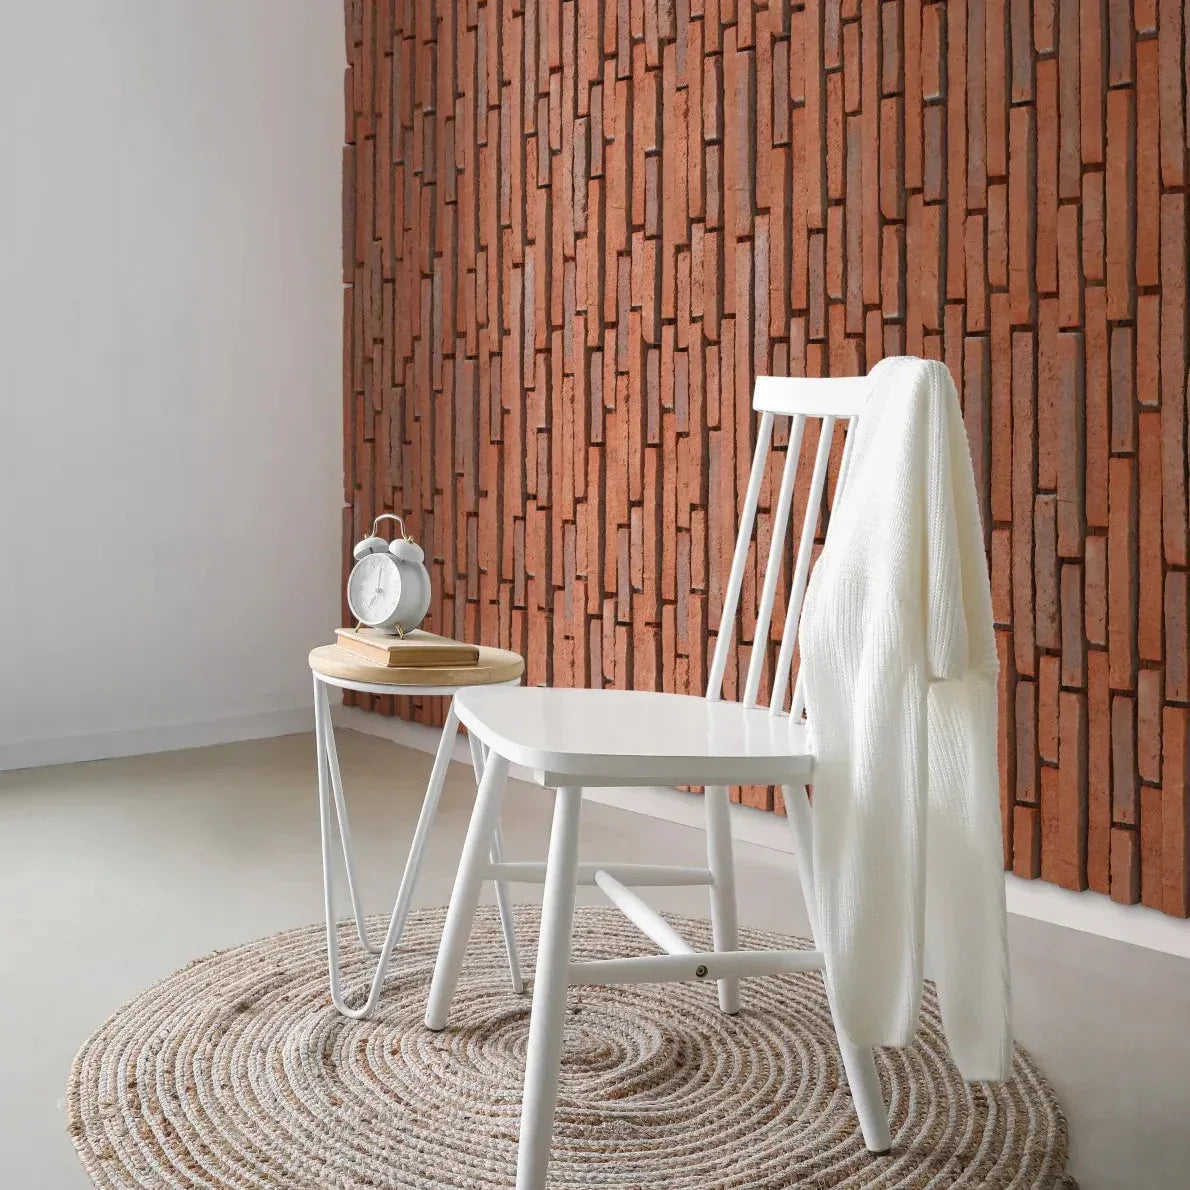
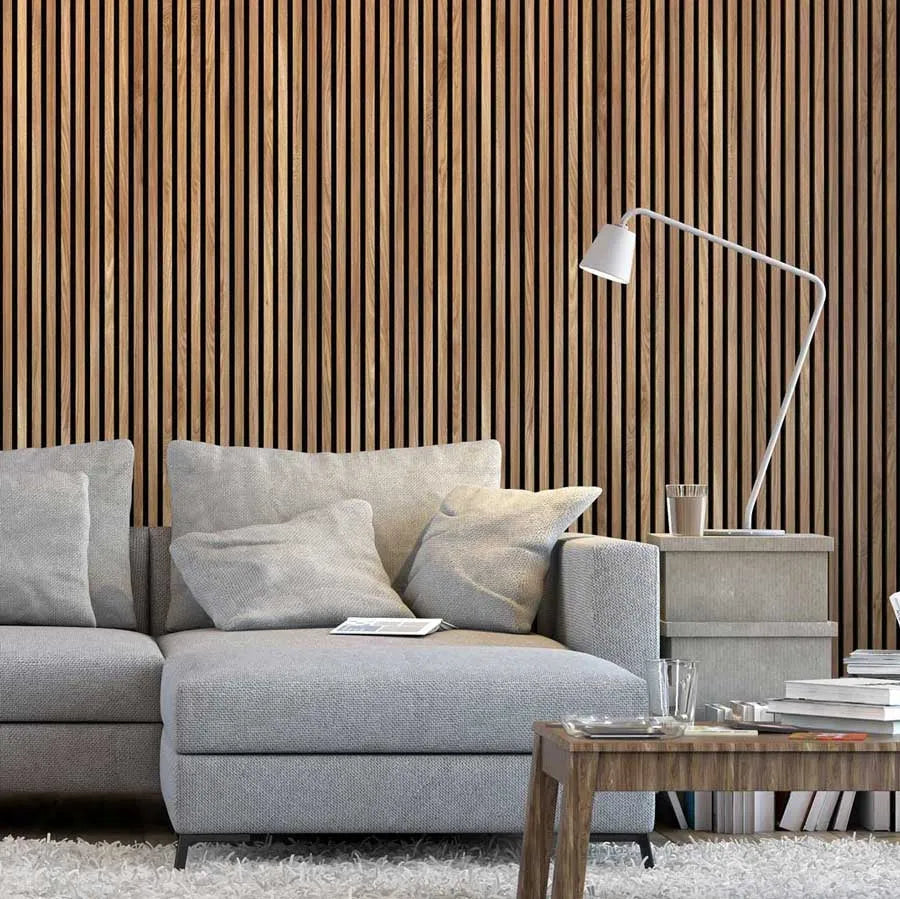
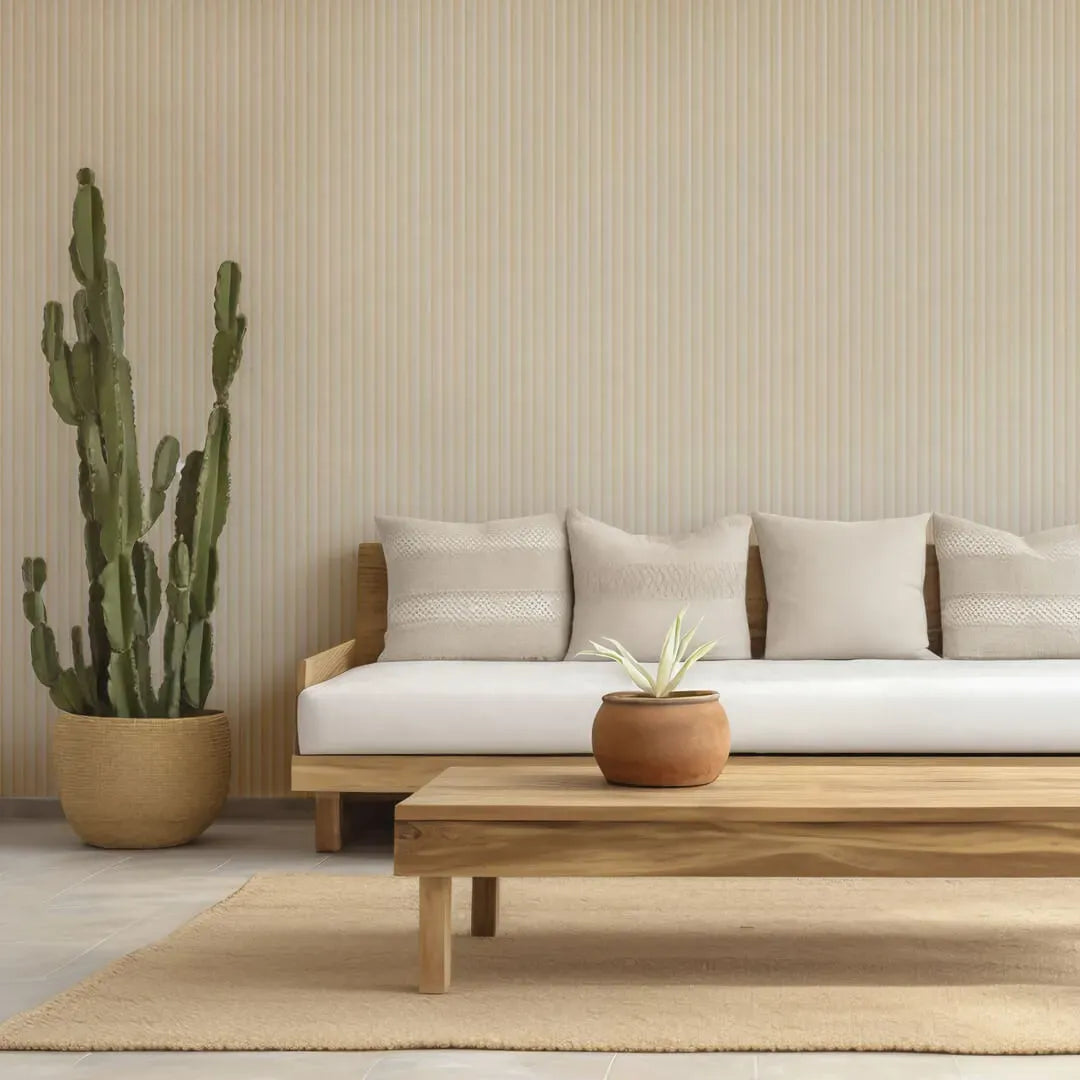
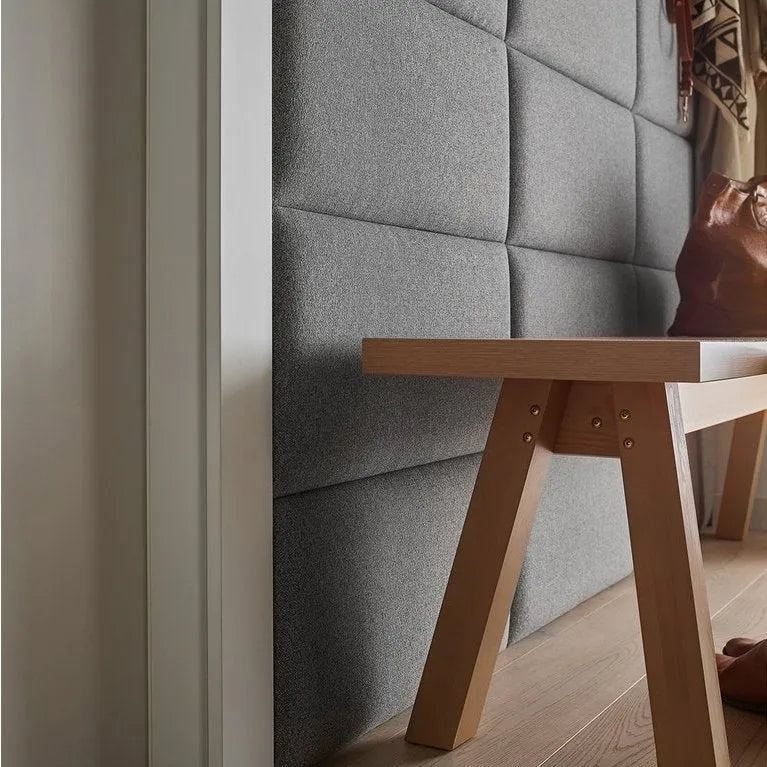
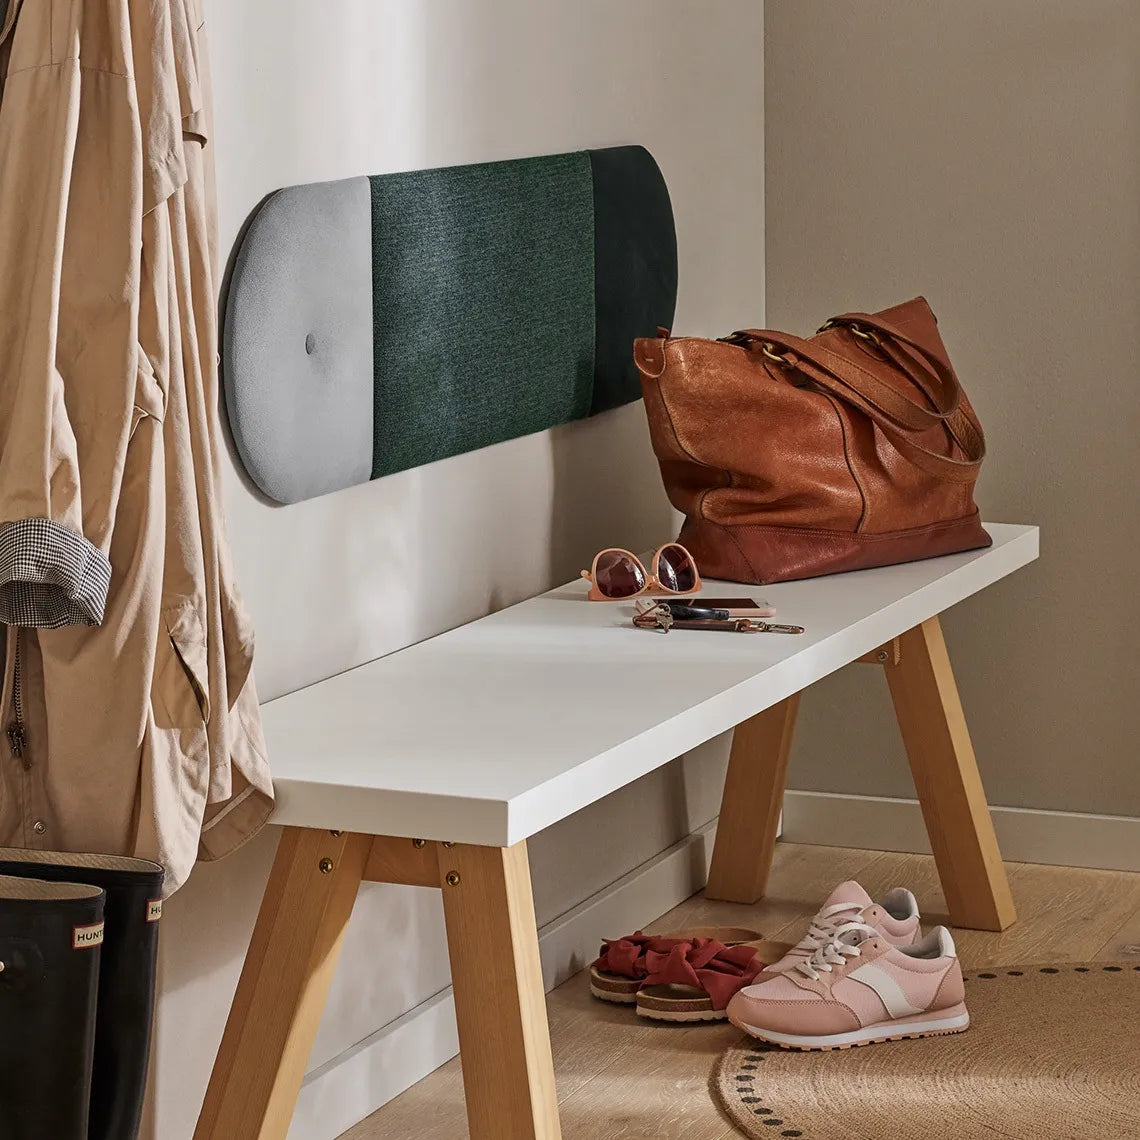
✅ Warm & Textural – Adds natural depth, patterns, and warmth to modern interiors
✅ Hypoallergenic & Anti-static – Ideal for allergy-sensitive environments
✅ Easy to Install – Lightweight and DIY-friendly
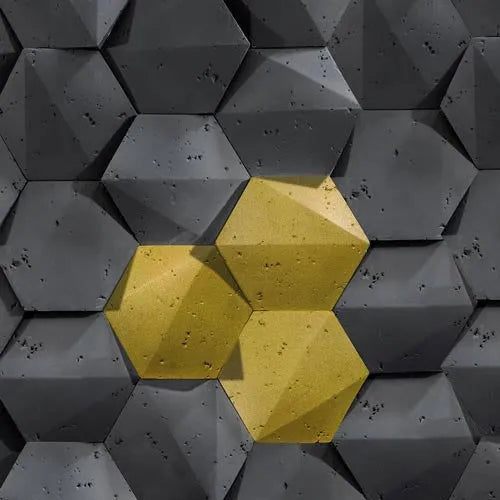
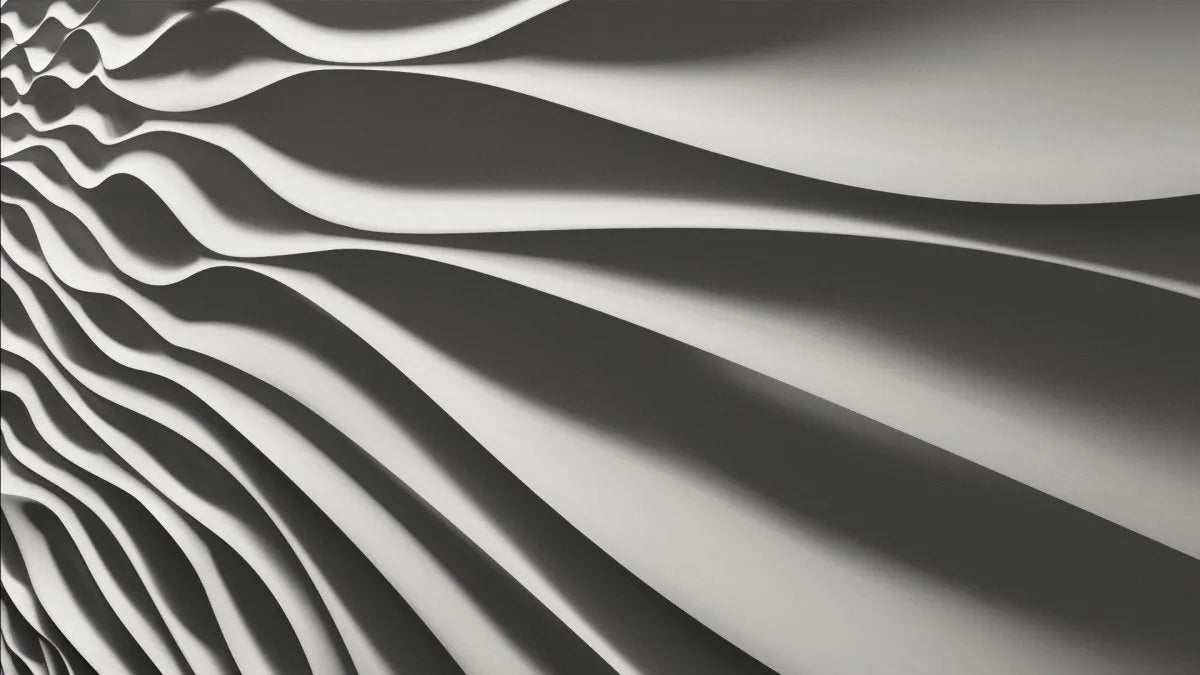
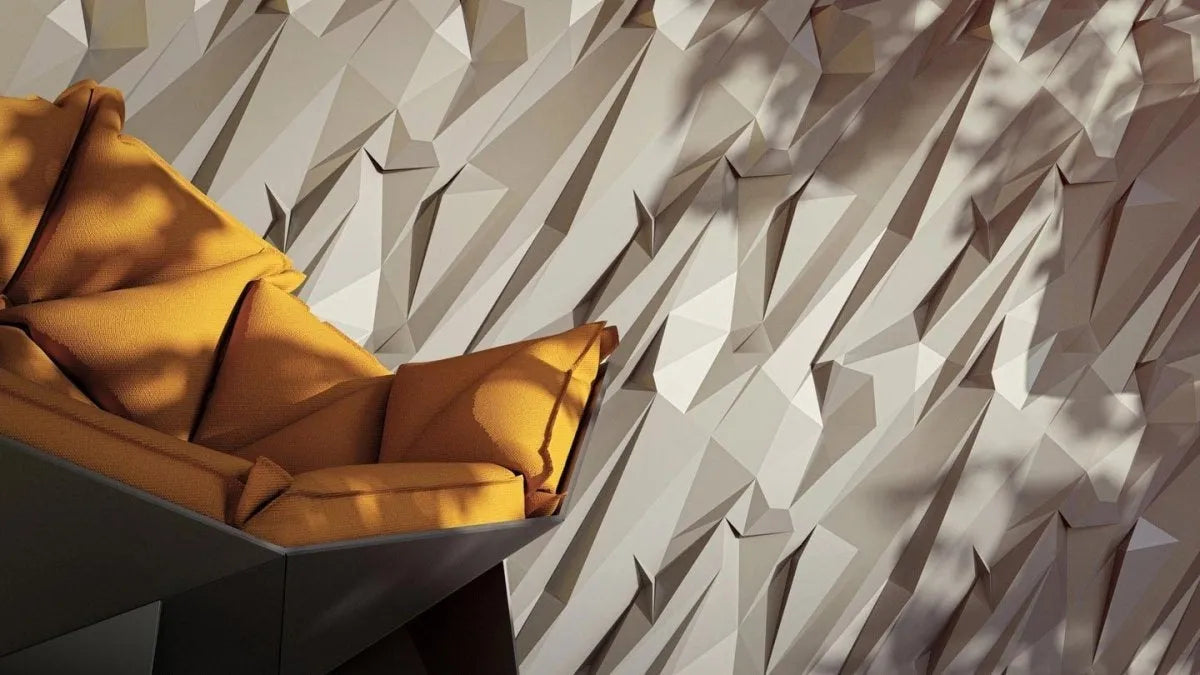
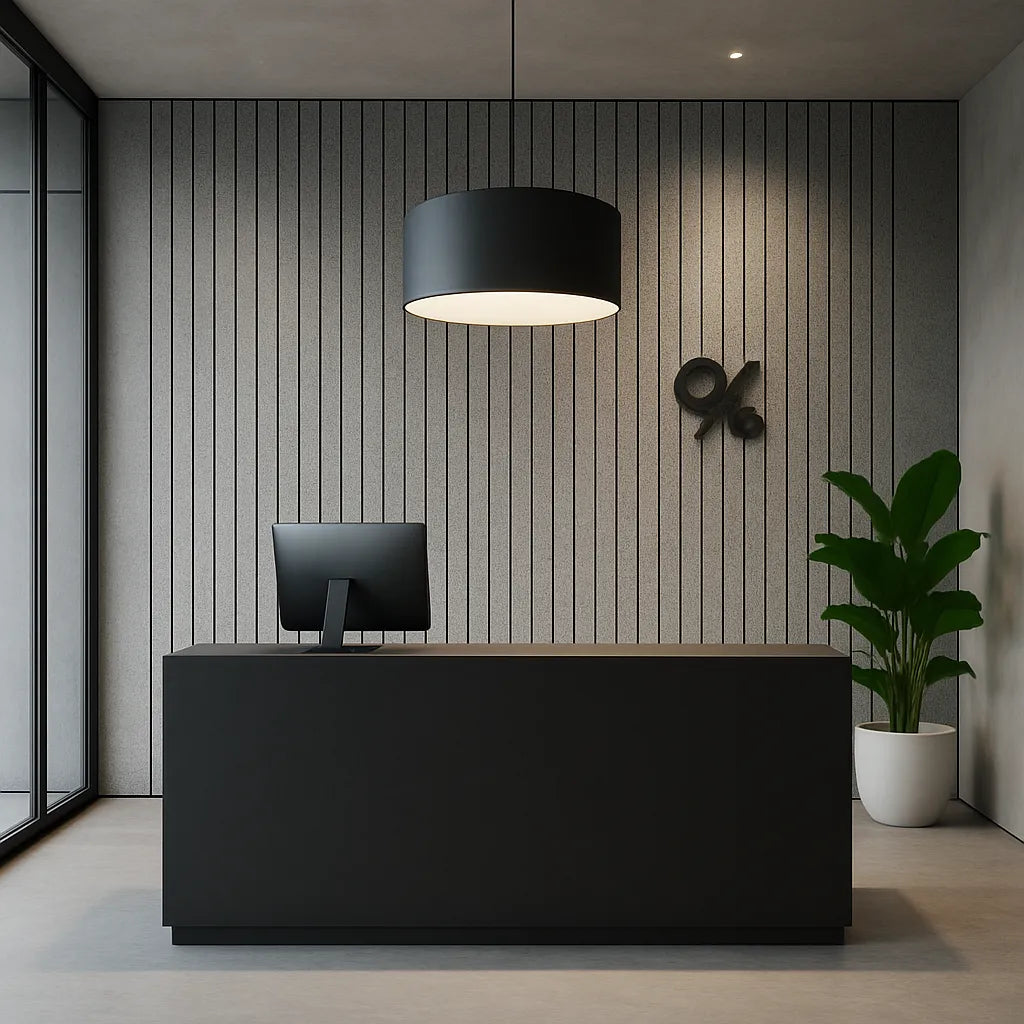
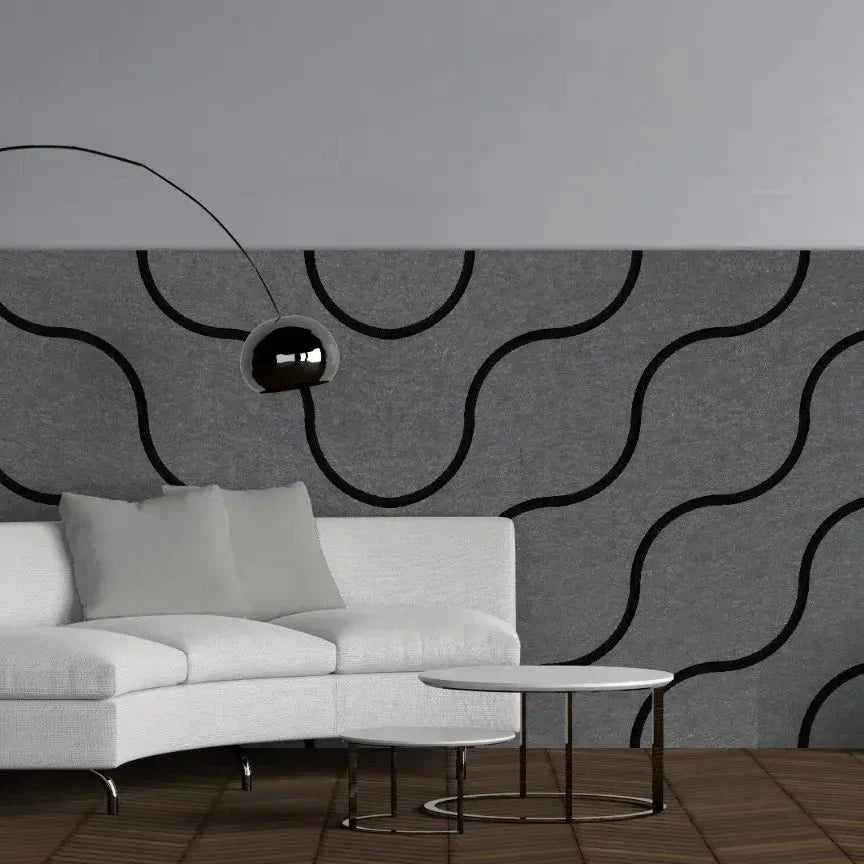
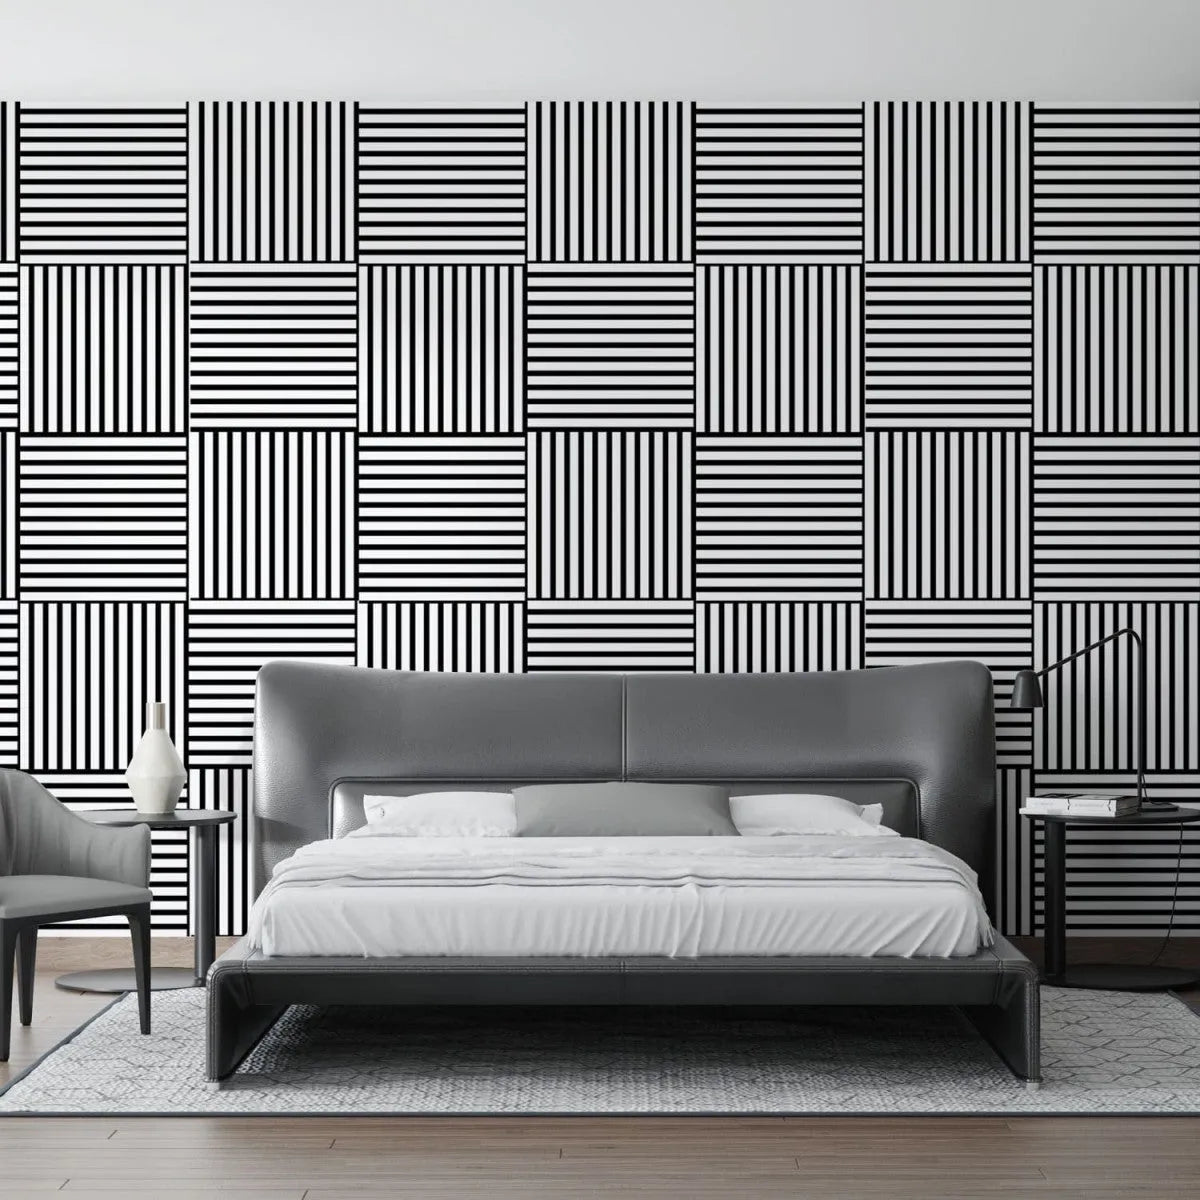
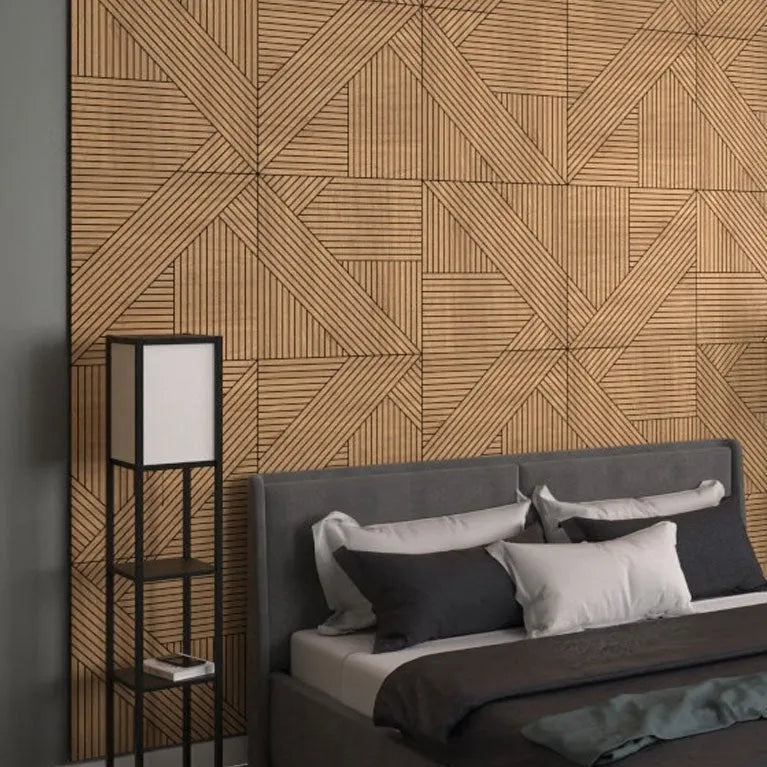
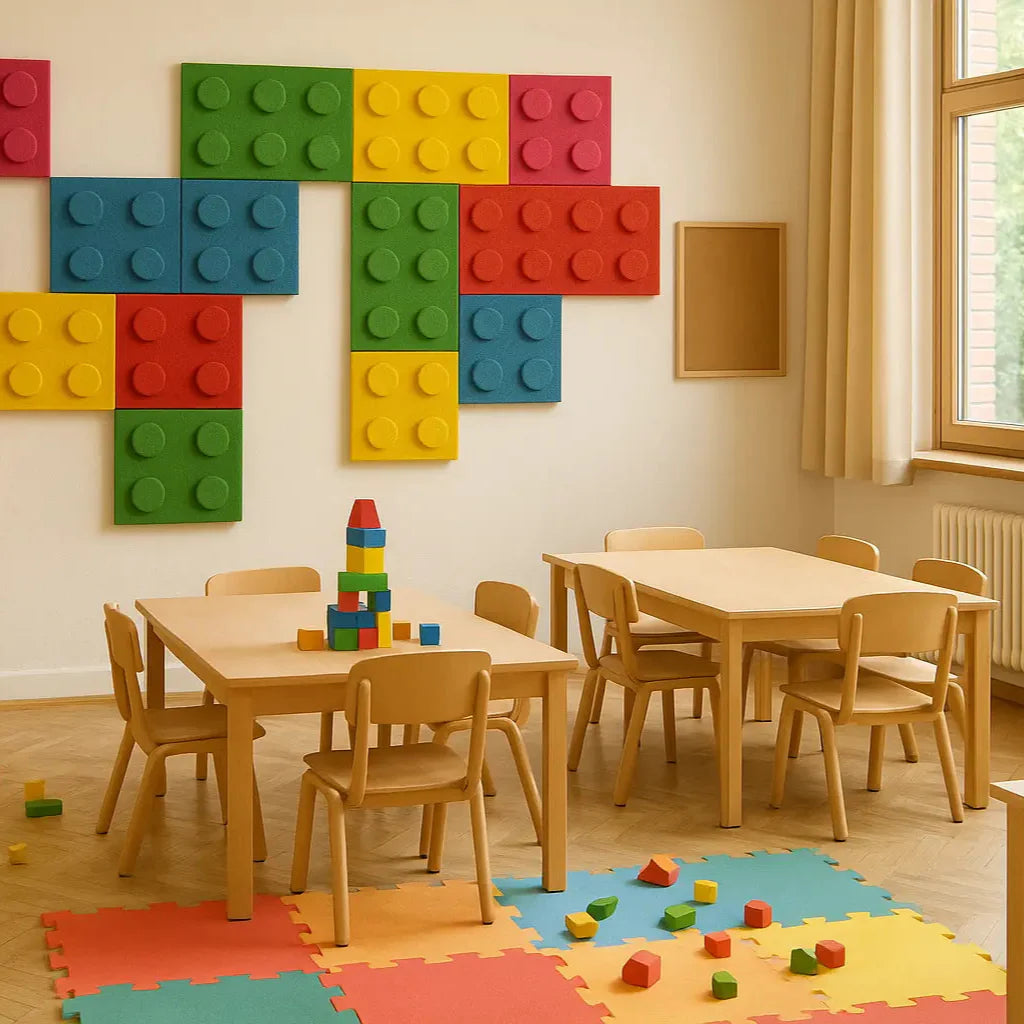
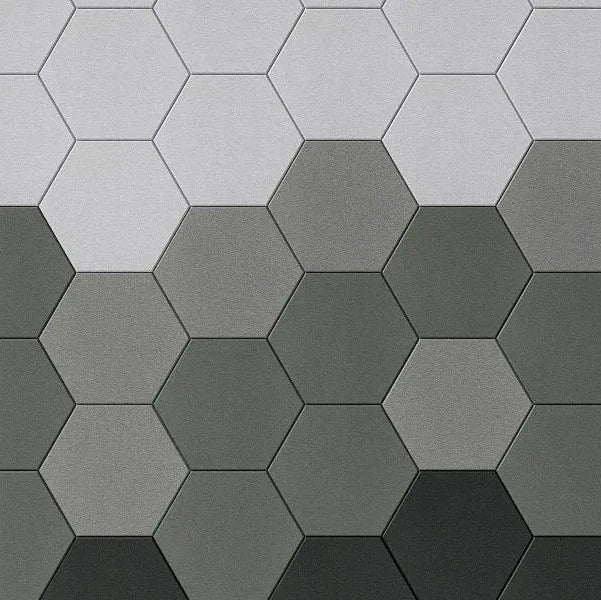
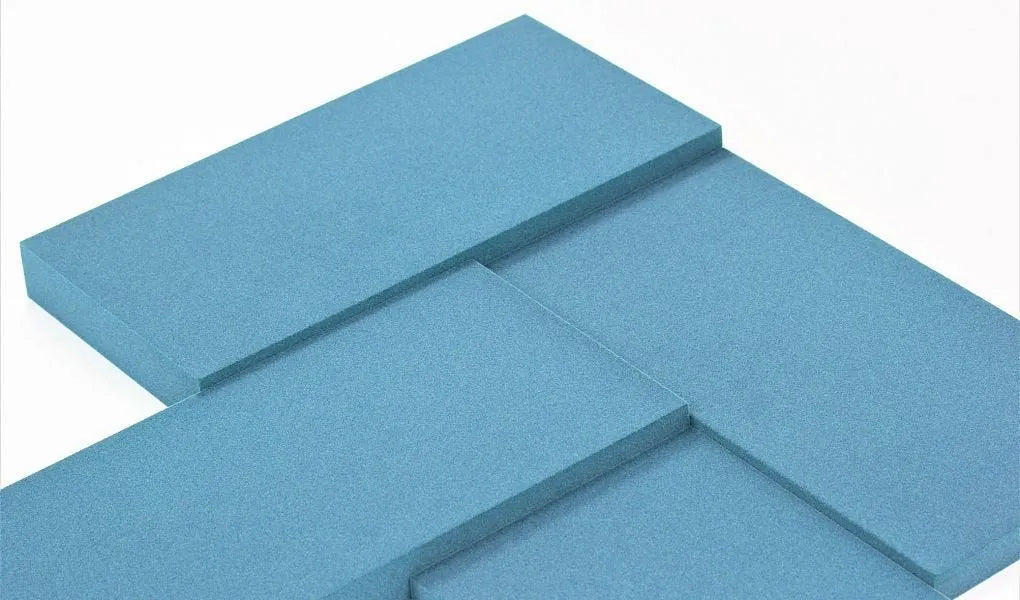
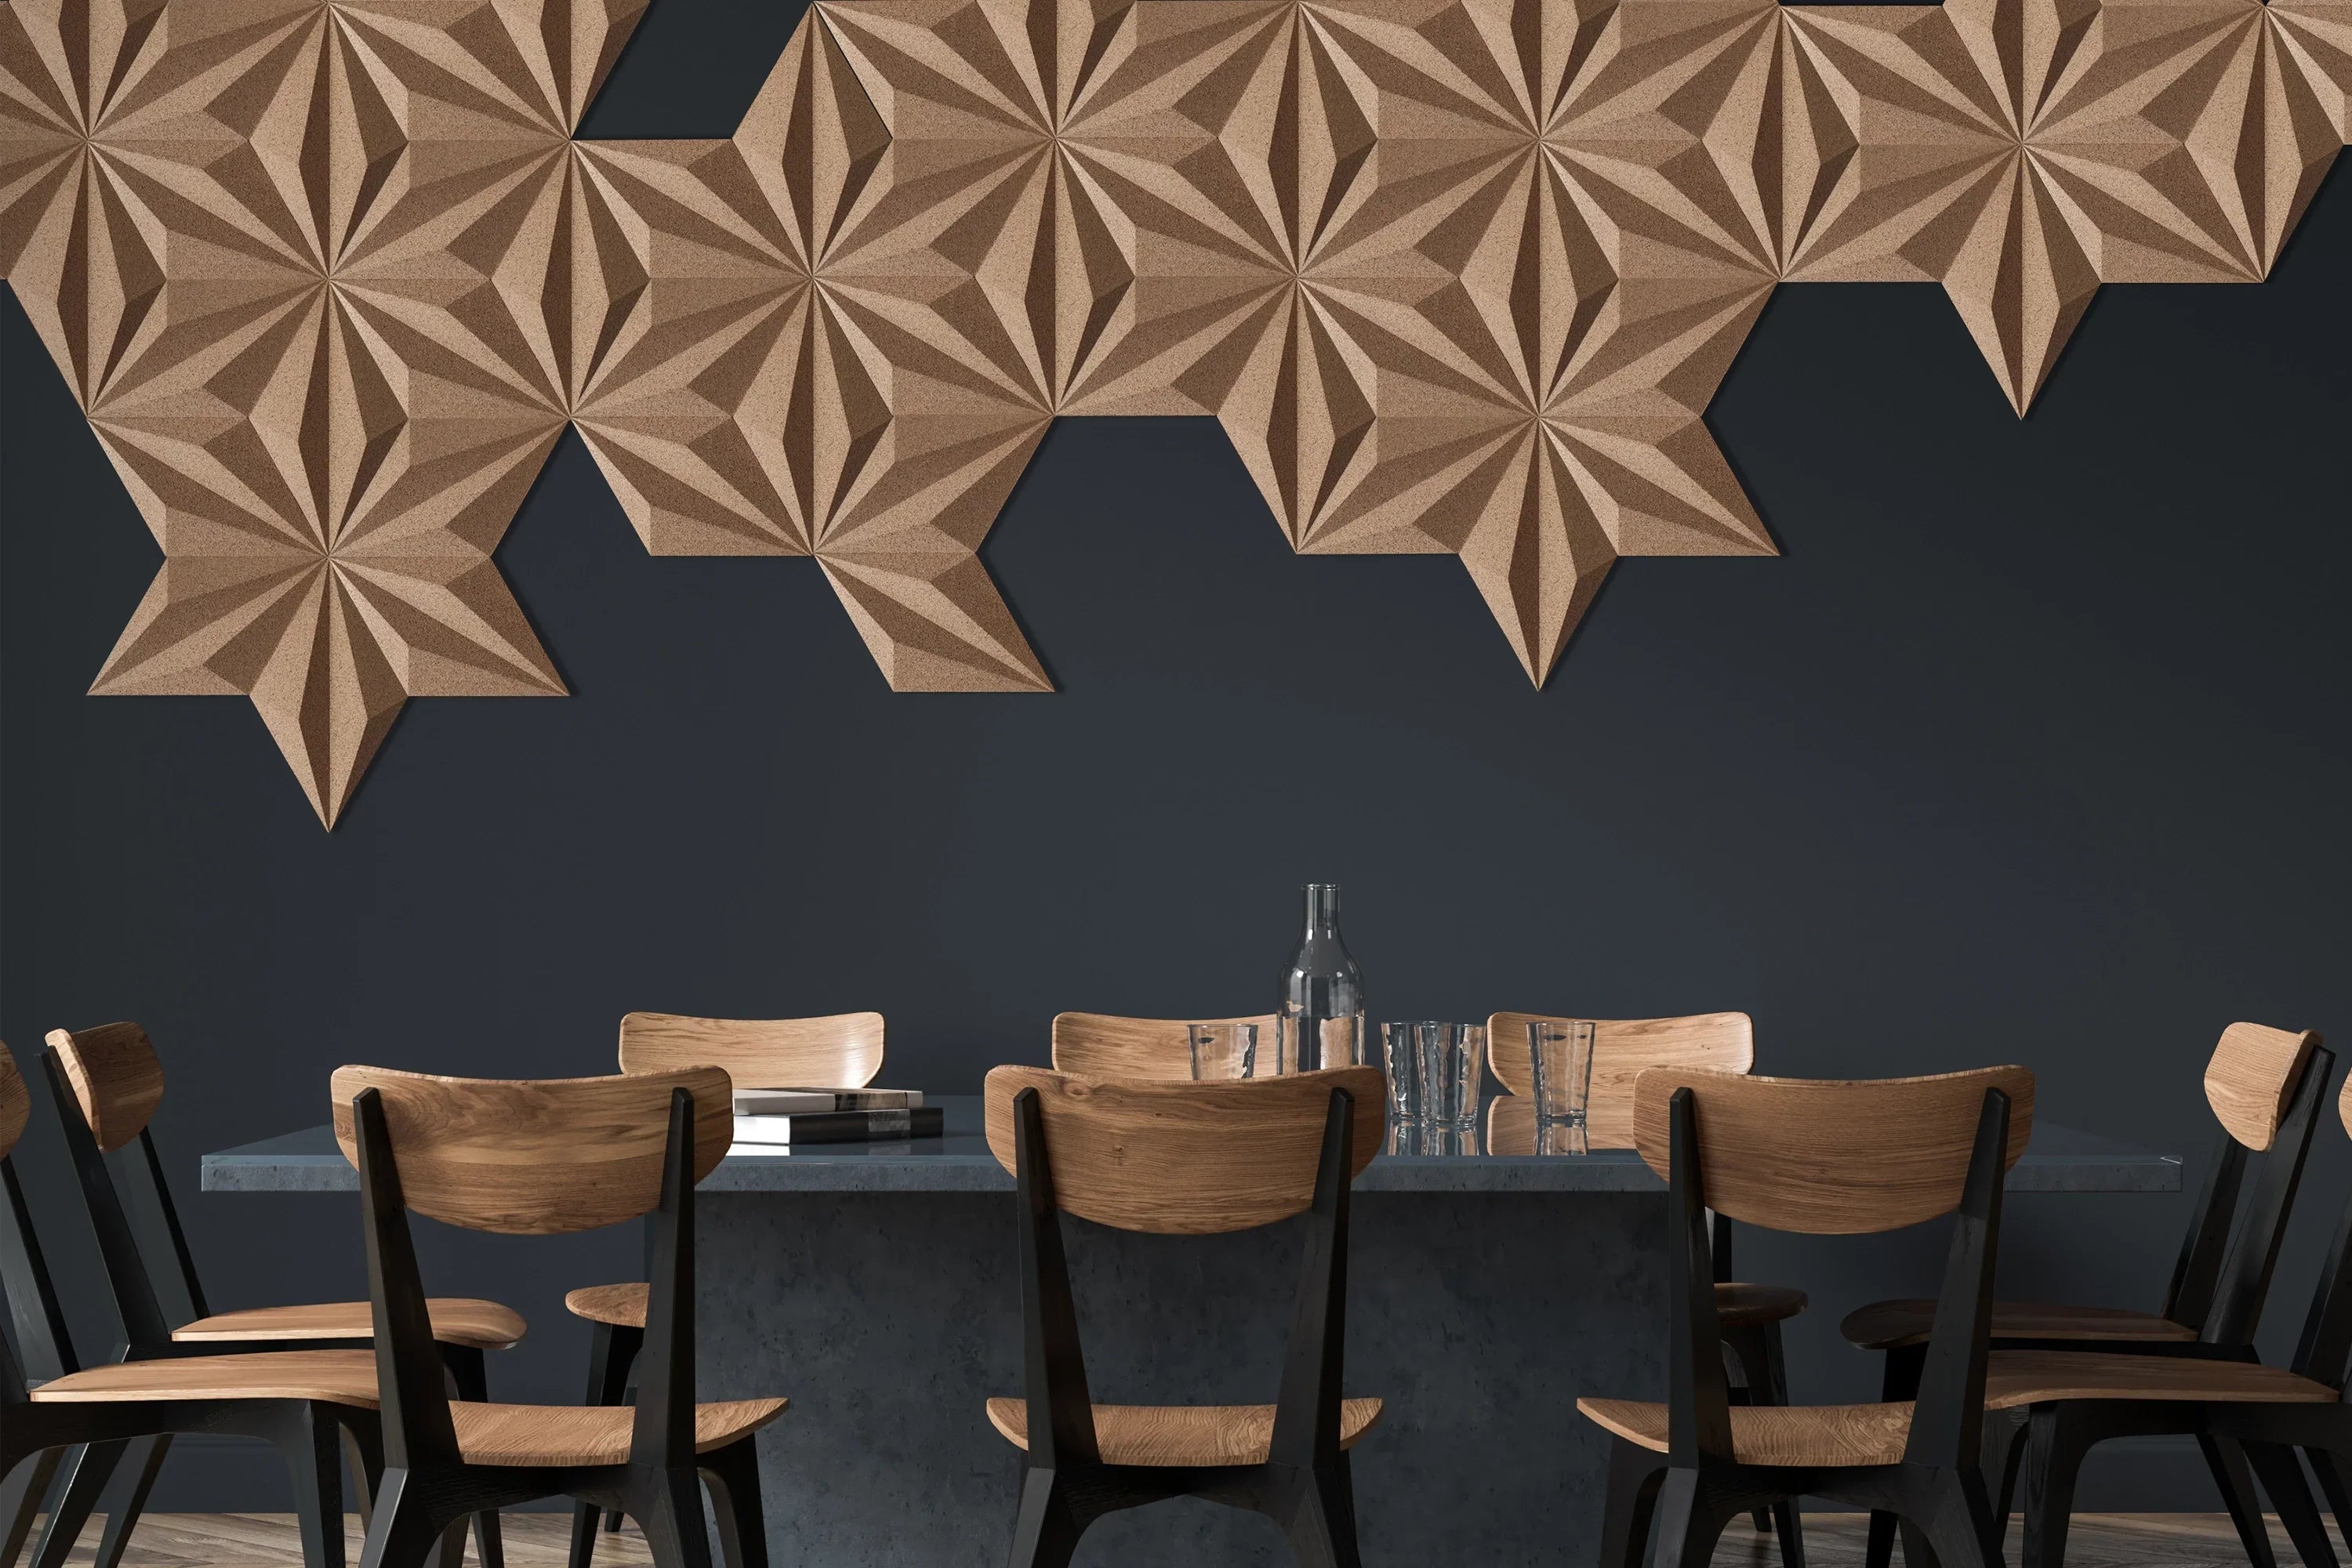
From geometric 3D Cork Wall Panels forms like Diamond Line to bold, sculptural designs like Weave , there’s a cork panel for every mood and space.
📋 What You’ll Need Before You Start
Installing Cork Wall Panels is a relatively simple task—especially with the right prep. Here’s your checklist of materials and tools:
🧰 Tools & Materials:
Tape measure
Pencil and ruler
Level or laser line
Strong grab adhesive (e.g., Mammuth Glue)
Masking tape (for layout planning)
Clean cloth
Utility knife or handsaw (for cutting)
🗺️ Step-by-Step: How to Install Cork Wall Panels
1️⃣ Plan Your Cork Wall Panels Layout
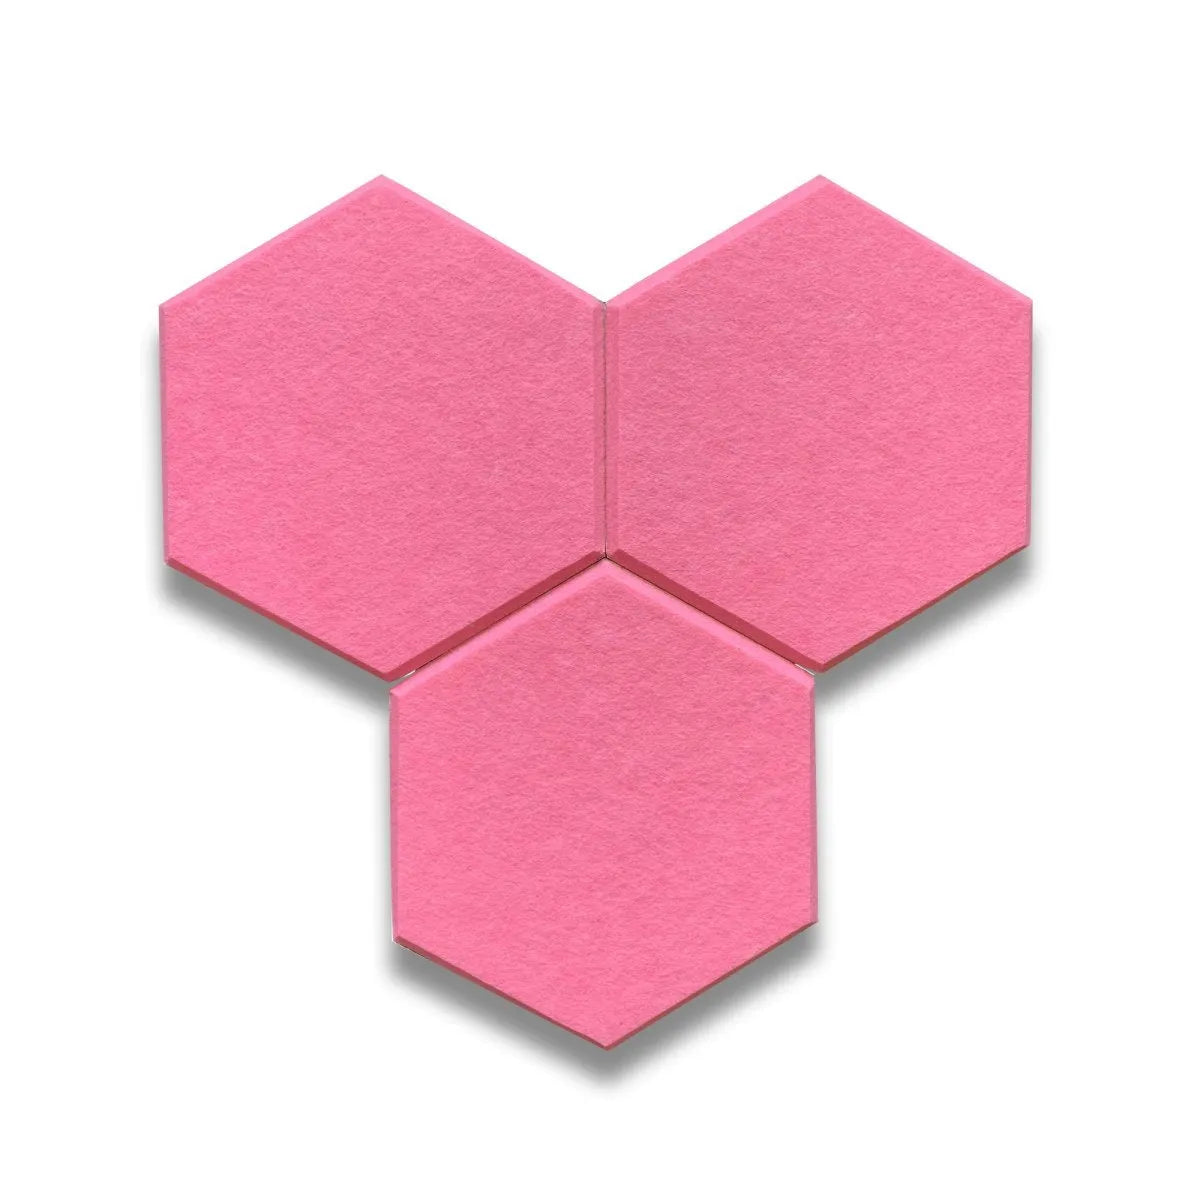
Start by measuring your wall area. Lay out your cork wall panels on the floor to decide on positioning, orientation (horizontal/vertical), and pattern. This is especially useful for uniquely shaped tiles like the Kite 3D Panels, where the geometric impact changes based on direction.
💡 Pro tip: Snap a photo of your planned layout so you can refer to it during installation.

2️⃣ Prep the Wall Surface
Use a damp cloth to clean your wall and remove any dust, grease, or irregularities. Cork panels stick best to smooth, dry surfaces.
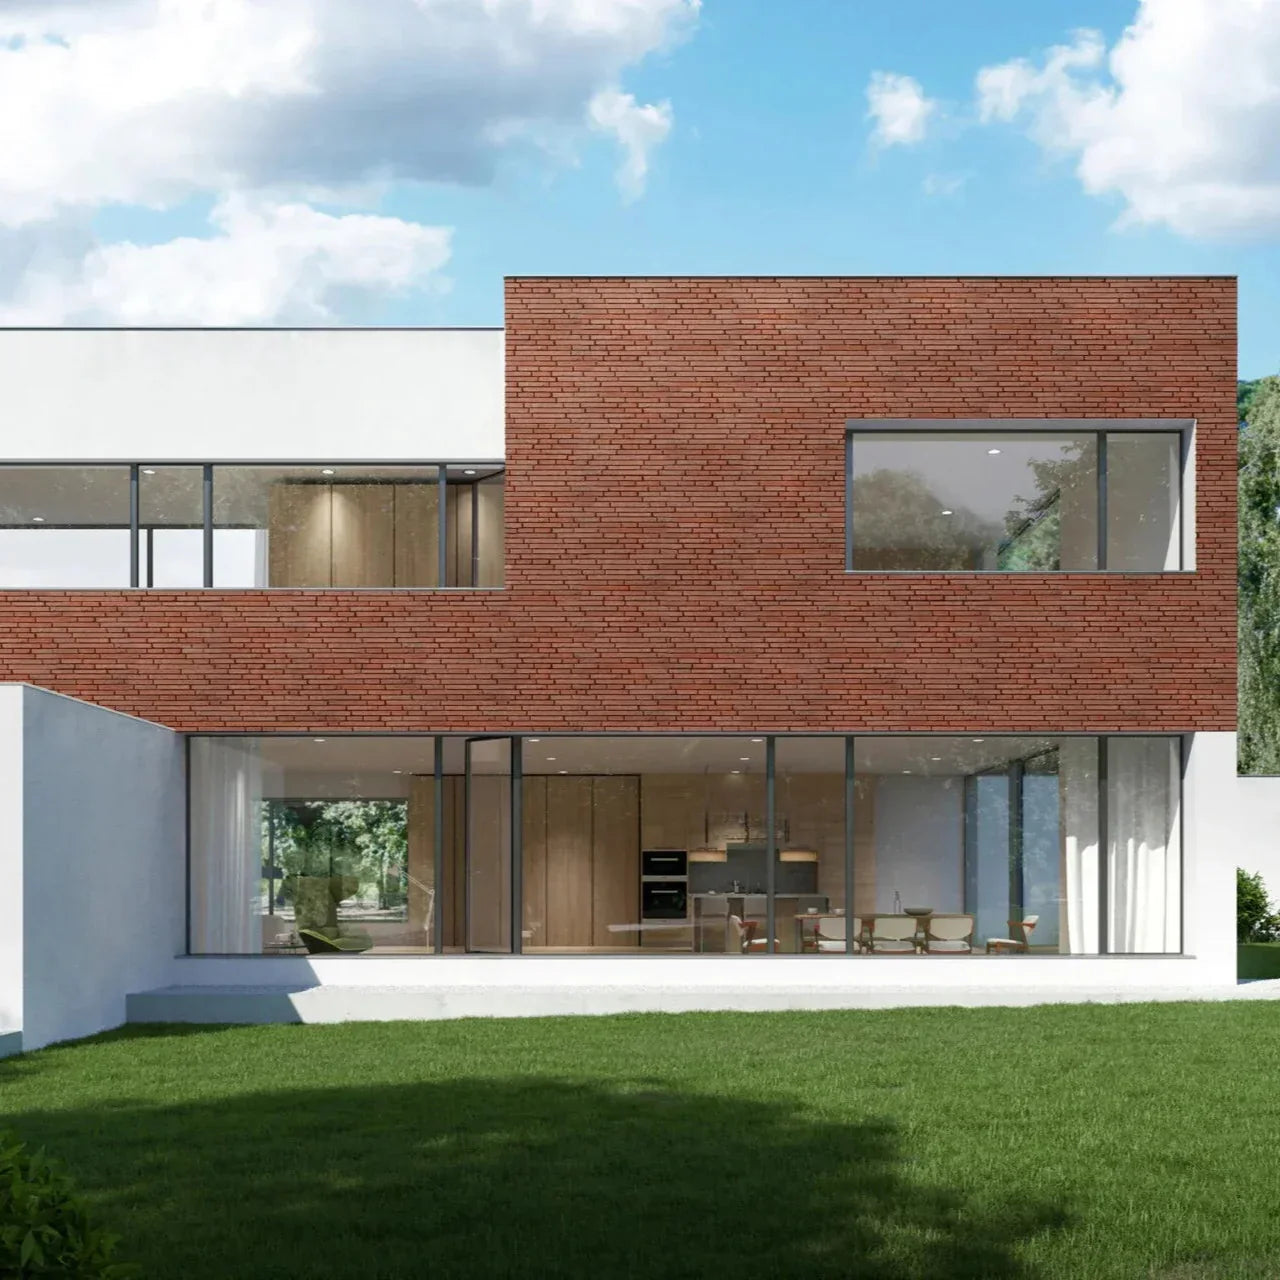
If you're working on a painted wall, make sure the paint is well-cured and not flaking. For raw plaster or brick, consider applying a primer or sealer first.
3️⃣ Mark Your Cork Wall Panels Grid
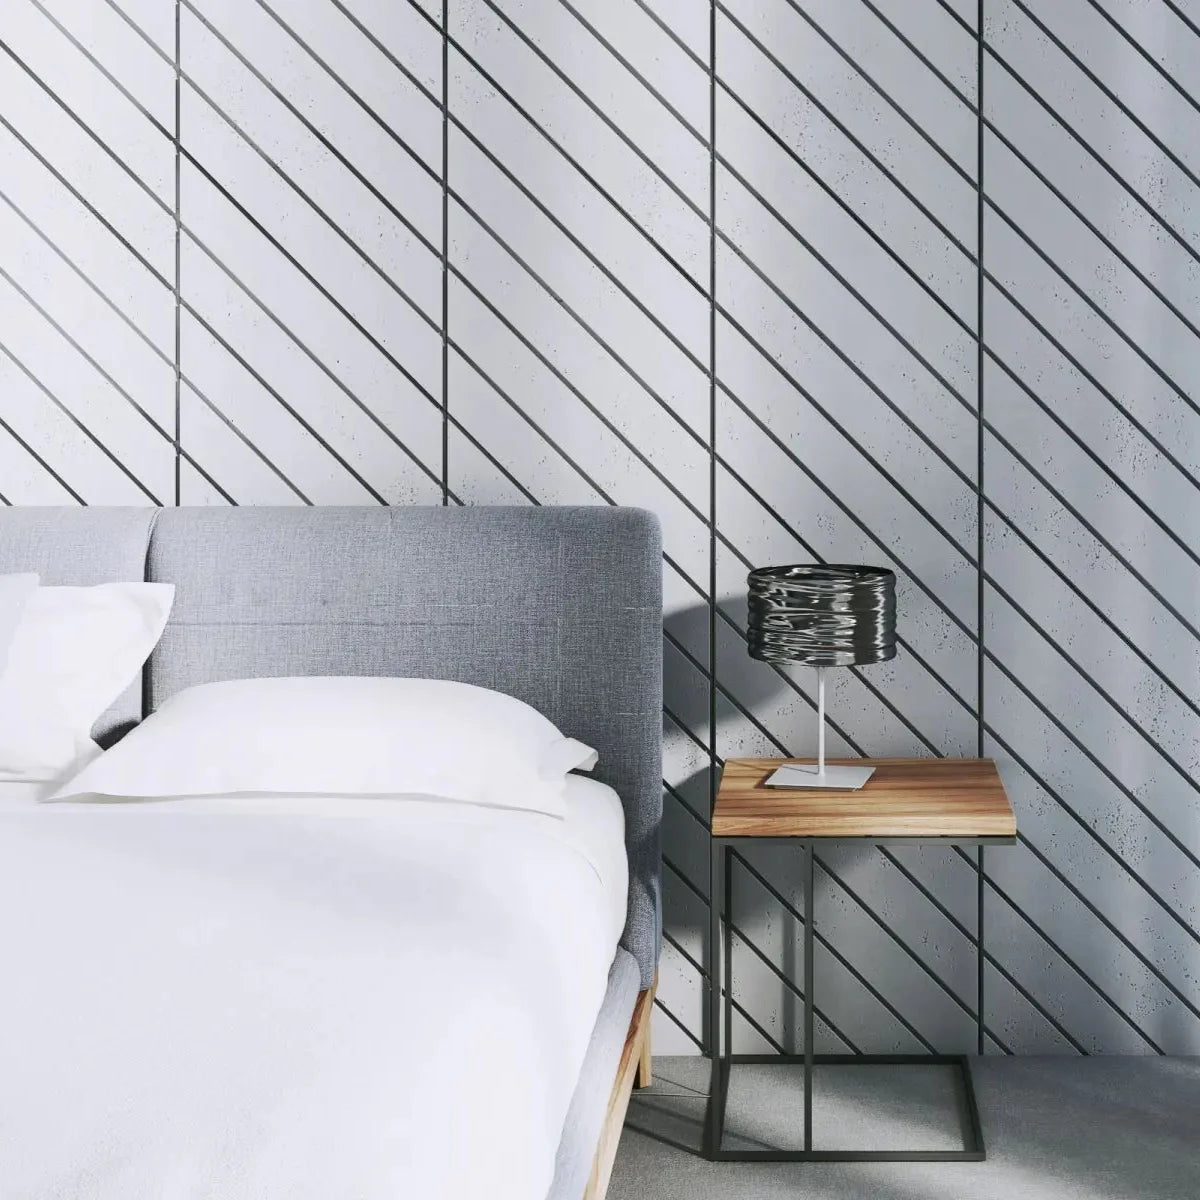
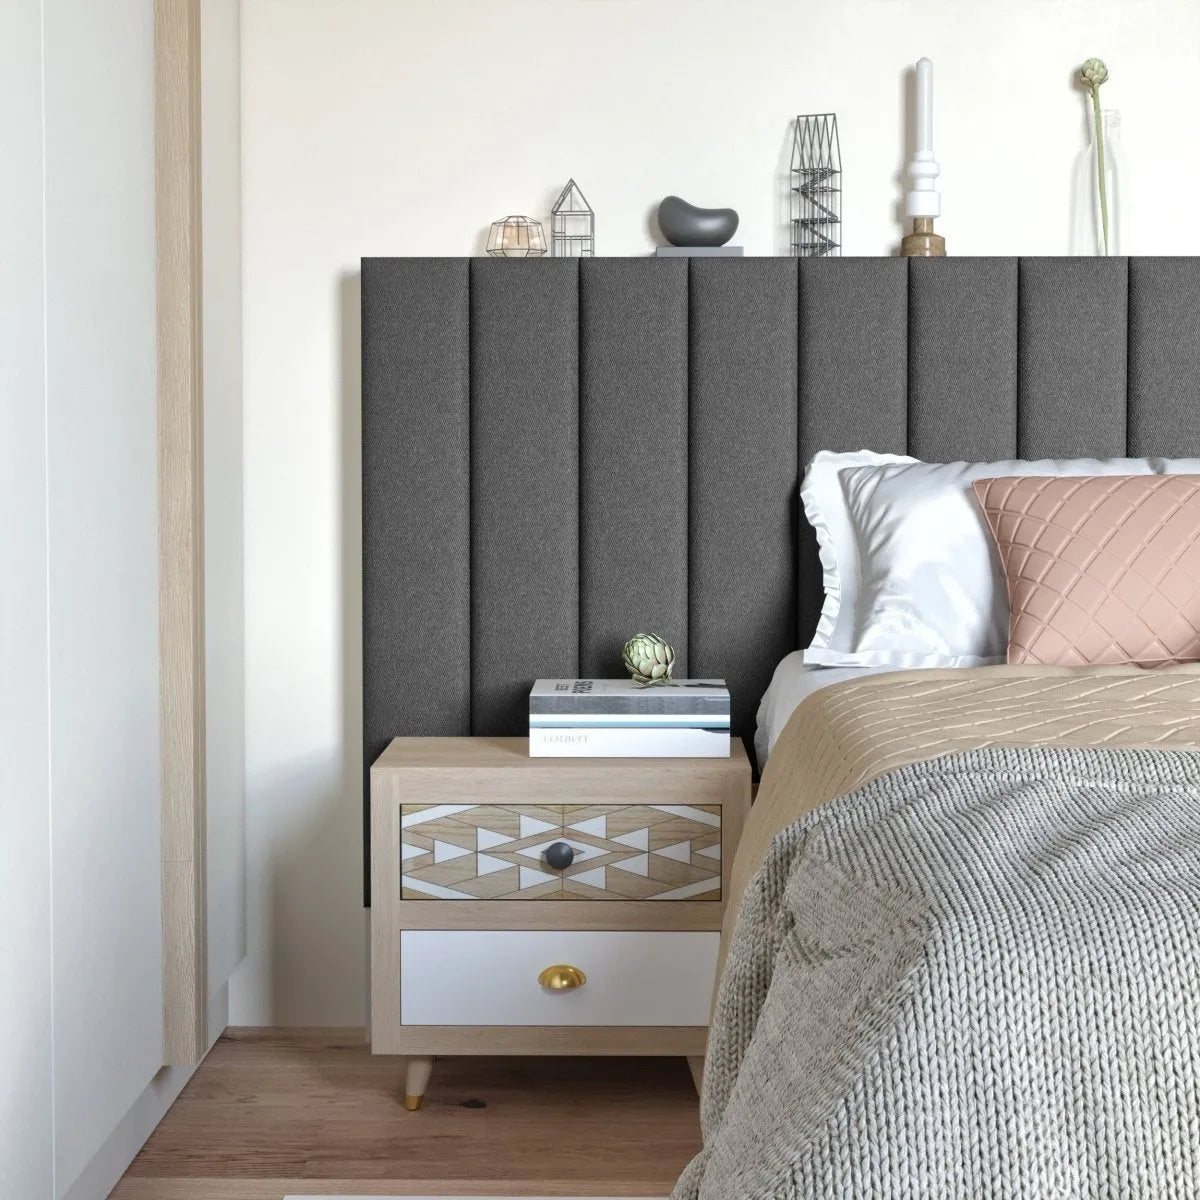
Use a pencil and spirit level or laser to lightly mark guidelines on your wall. This will keep your rows straight—especially useful when working with symmetrical shapes like Diamond Stripe Panels.
4️⃣ Apply Adhesive
Apply strong adhesive to the back of each cork wall panel in a zig-zag or dot pattern, ensuring good coverage around edges and corners. Press firmly onto the wall, starting from one corner and working outward.
🚫 Avoid using nails or screws—cork is soft and may crack.
5️⃣ Press, Align & Hold
Hold each panel in place for around 30 seconds. Use your pencil guides to keep the rows aligned. If you’re working with a repeating pattern like Diamond Line , step back every few tiles to check alignment visually.
6️⃣ Cut to Fit (if needed)
If you’re working around sockets, light switches, or corners, you can trim the panels using a sharp utility knife or handsaw. Measure twice, cut once.
7️⃣ Let It Cure
Give your adhesive 24–48 hours to fully cure before touching or cleaning the panels. After that—your natural cork masterpiece is ready to admire. 🧡
🎨 Design Tips for Cork Wall Panels
Not sure where to start? Here are some layout ideas that blend creativity with function:
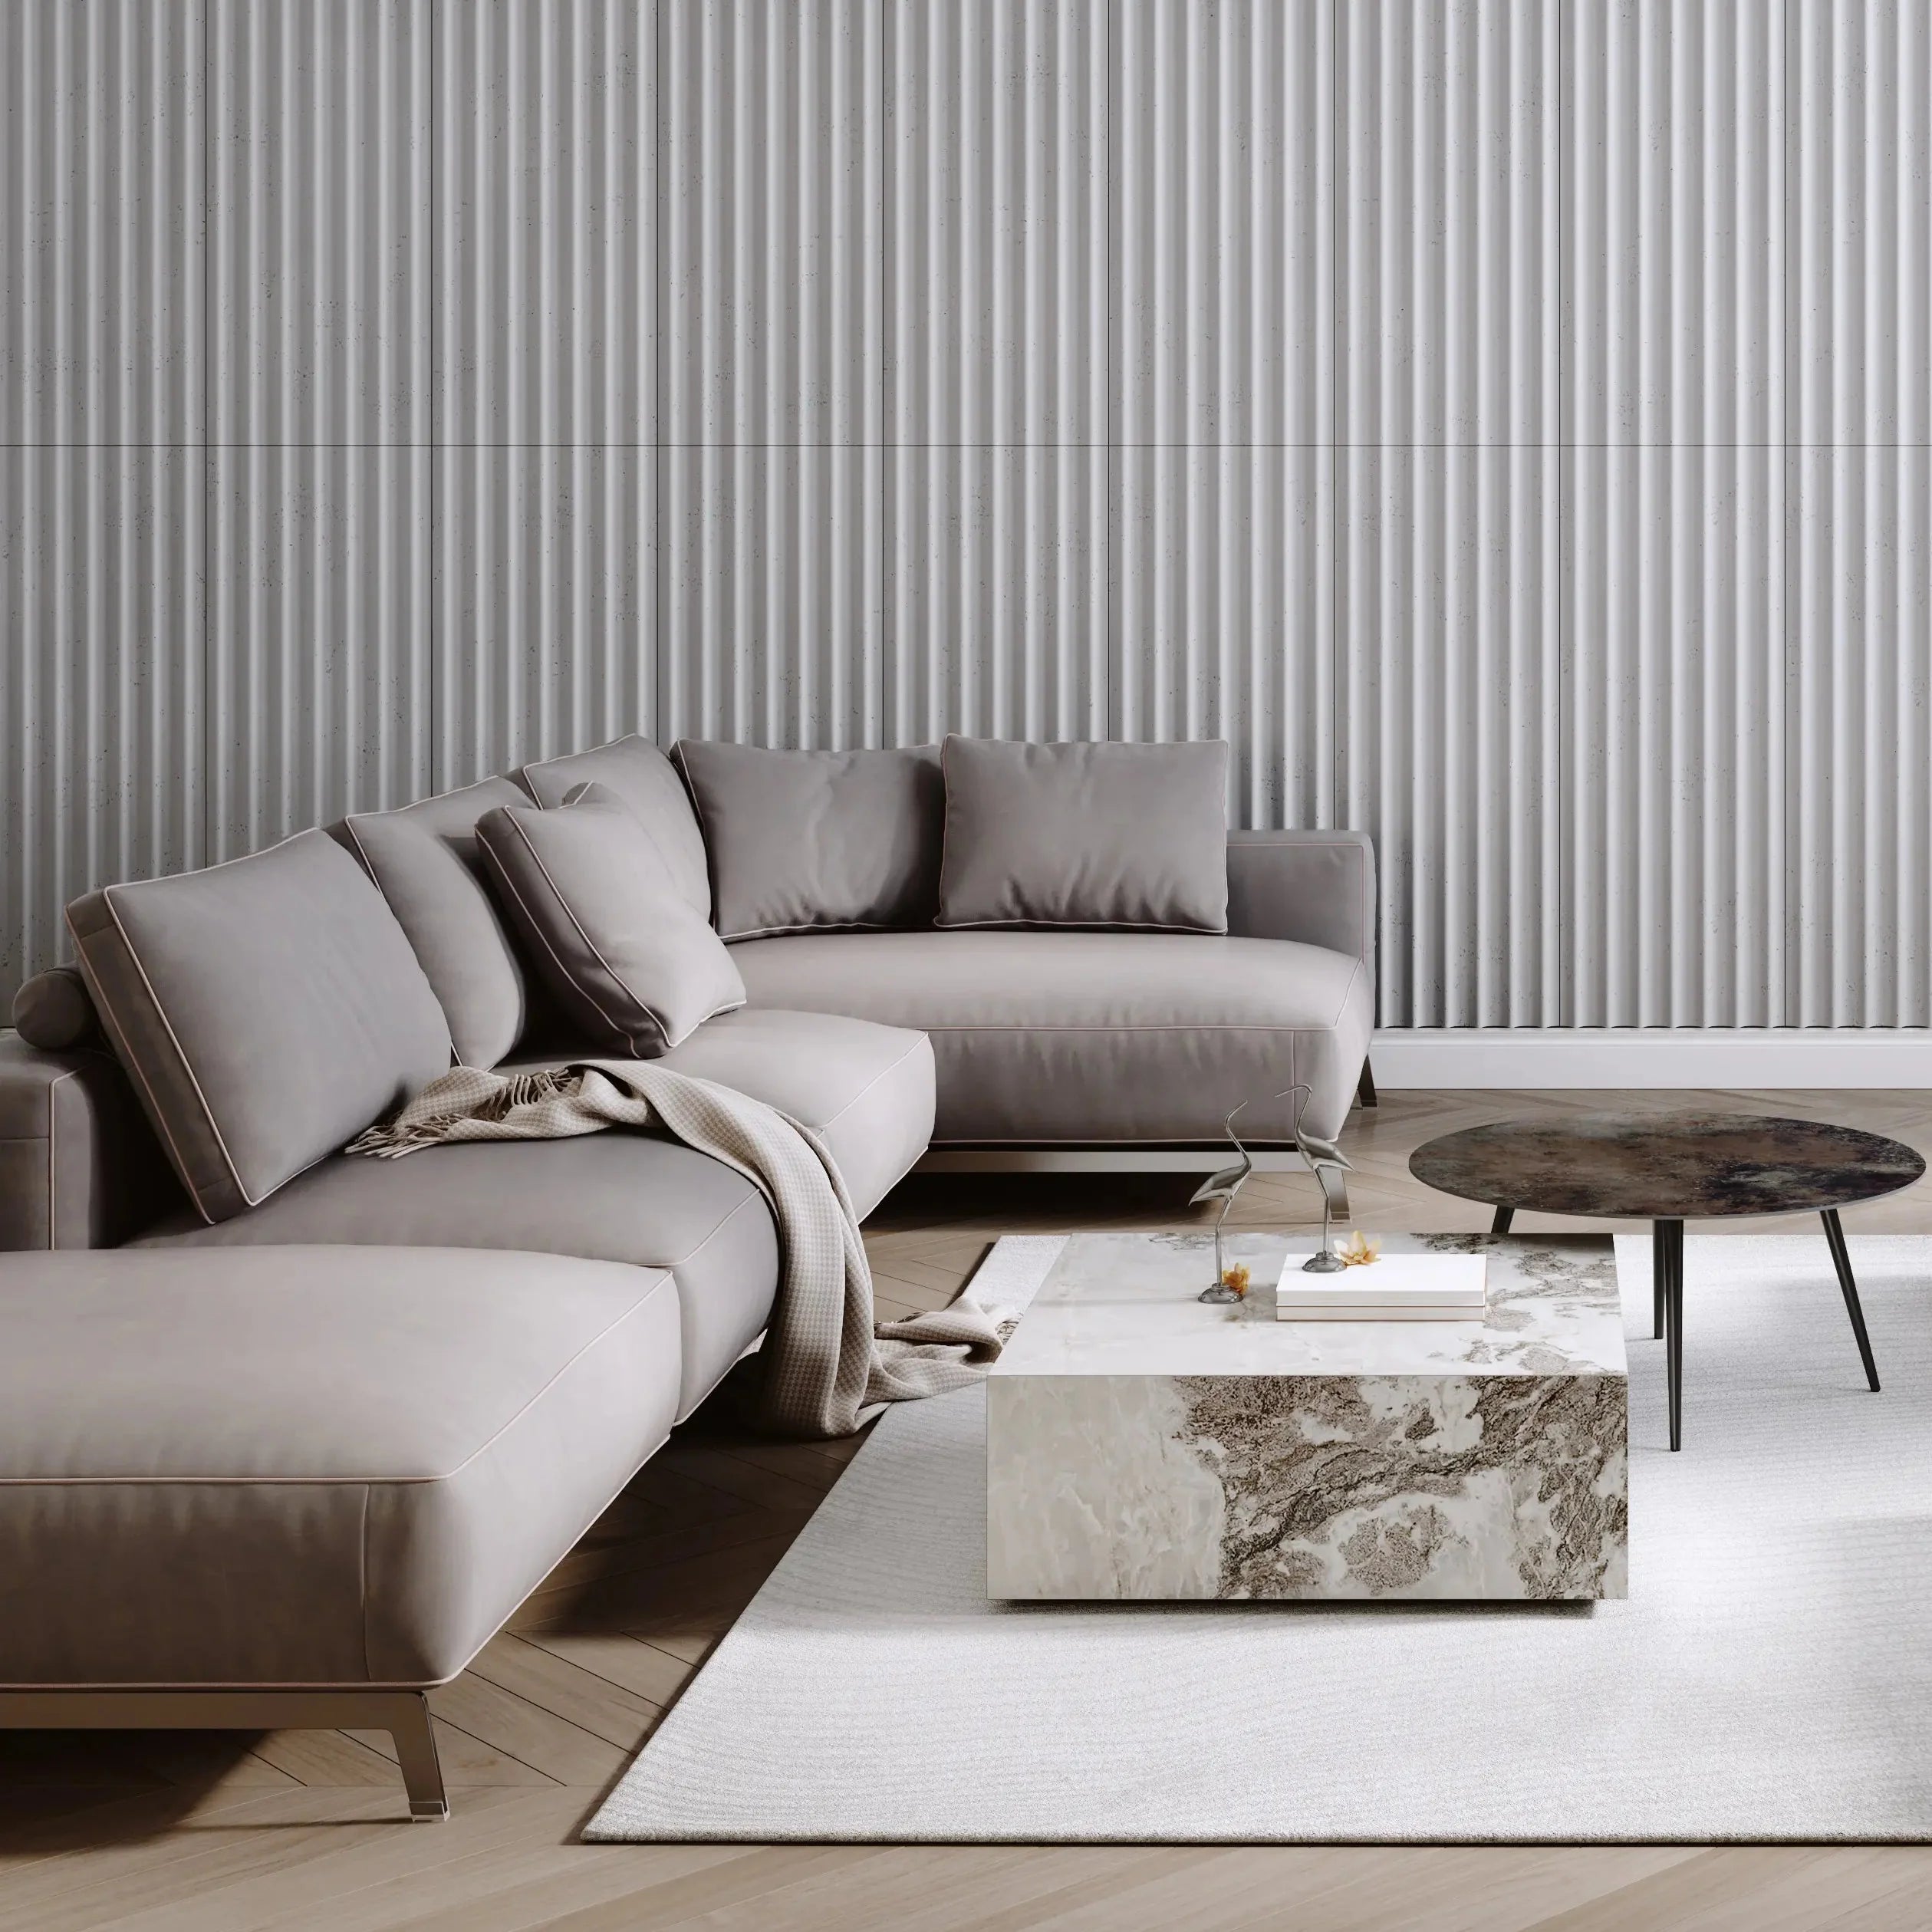
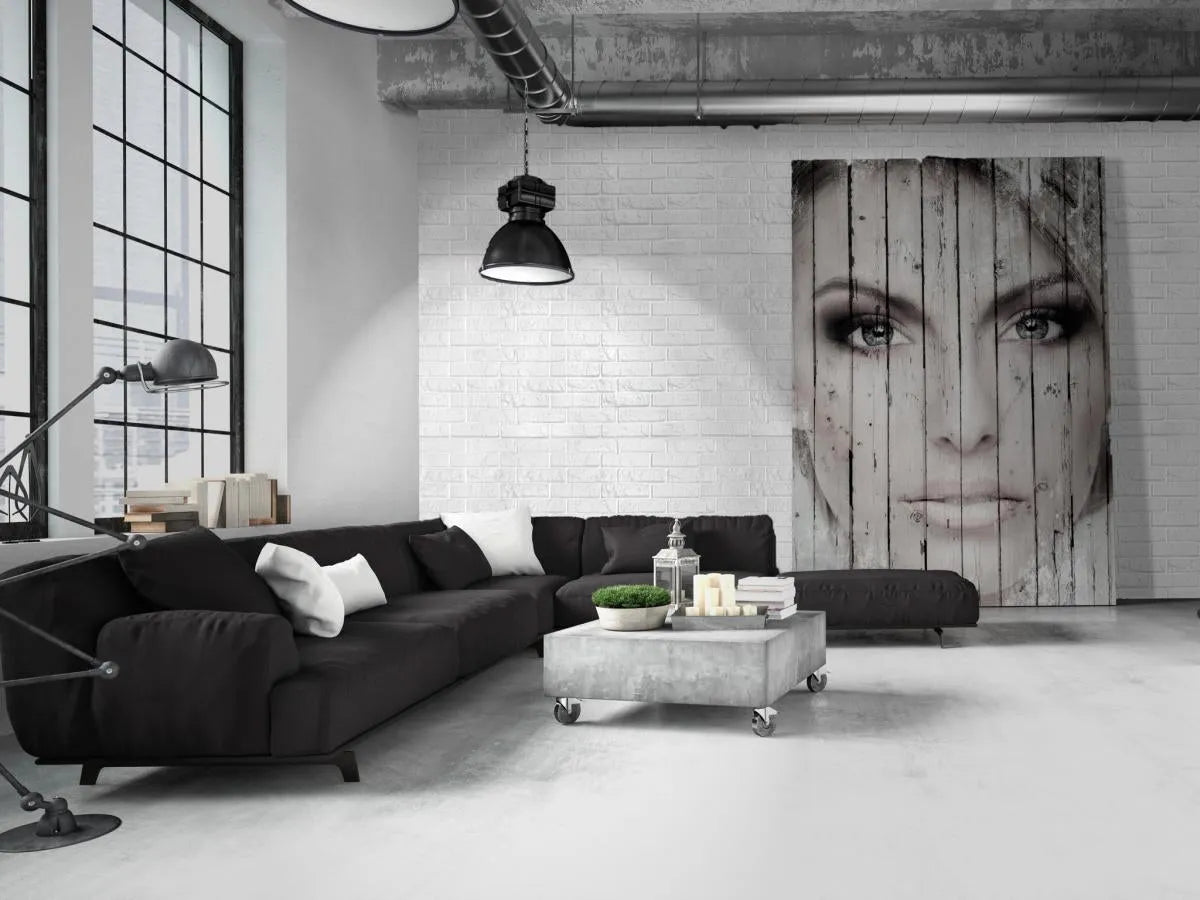
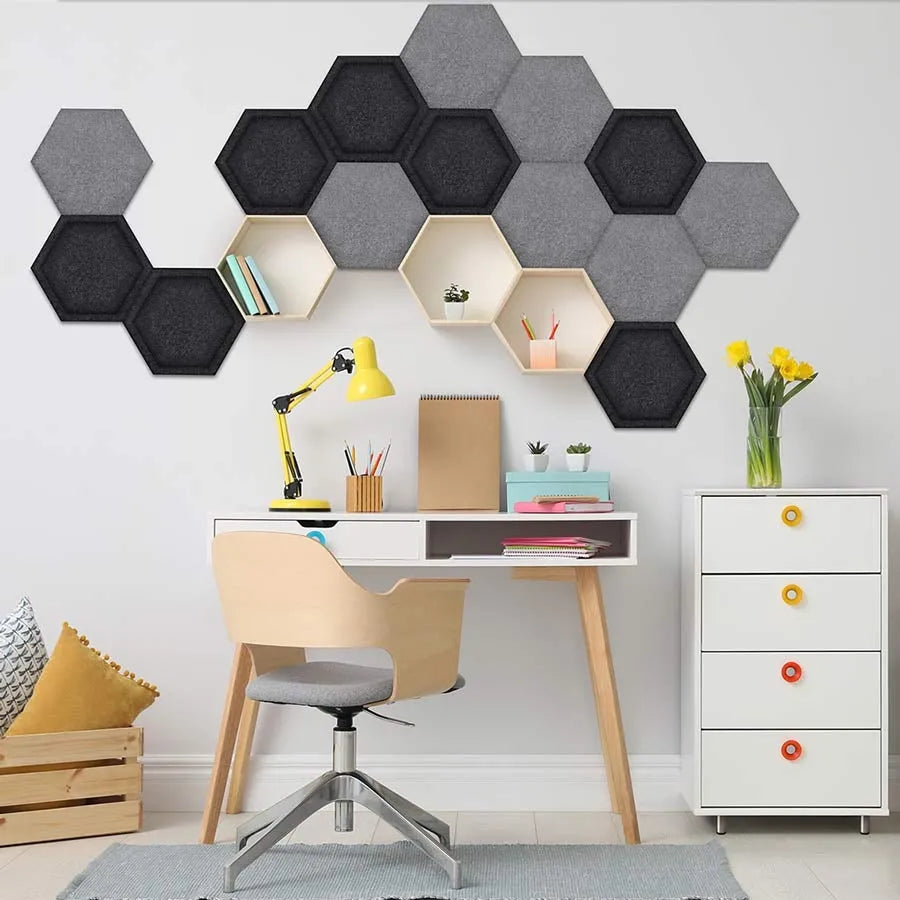
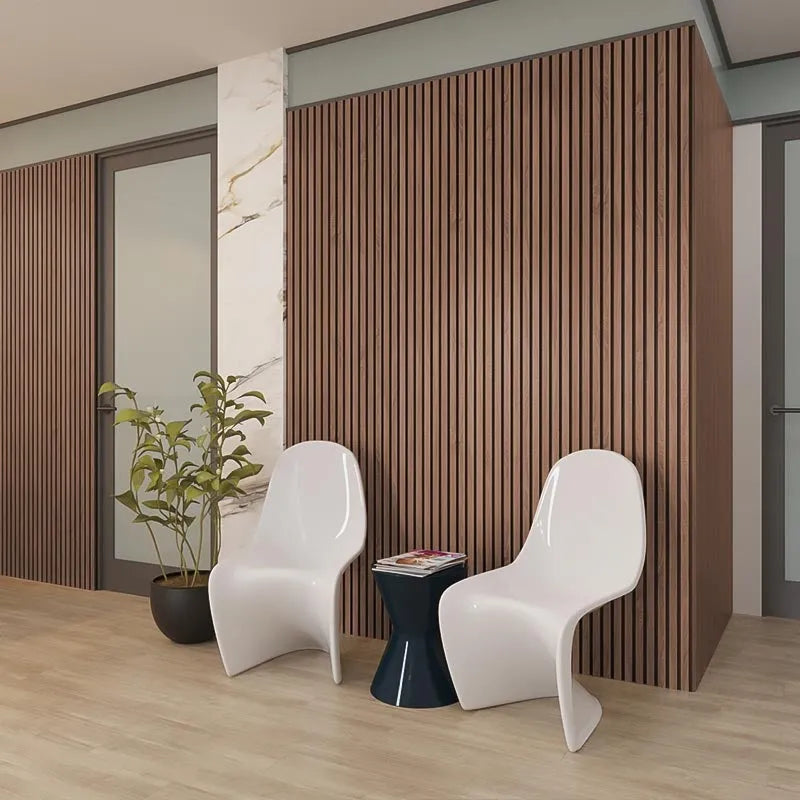
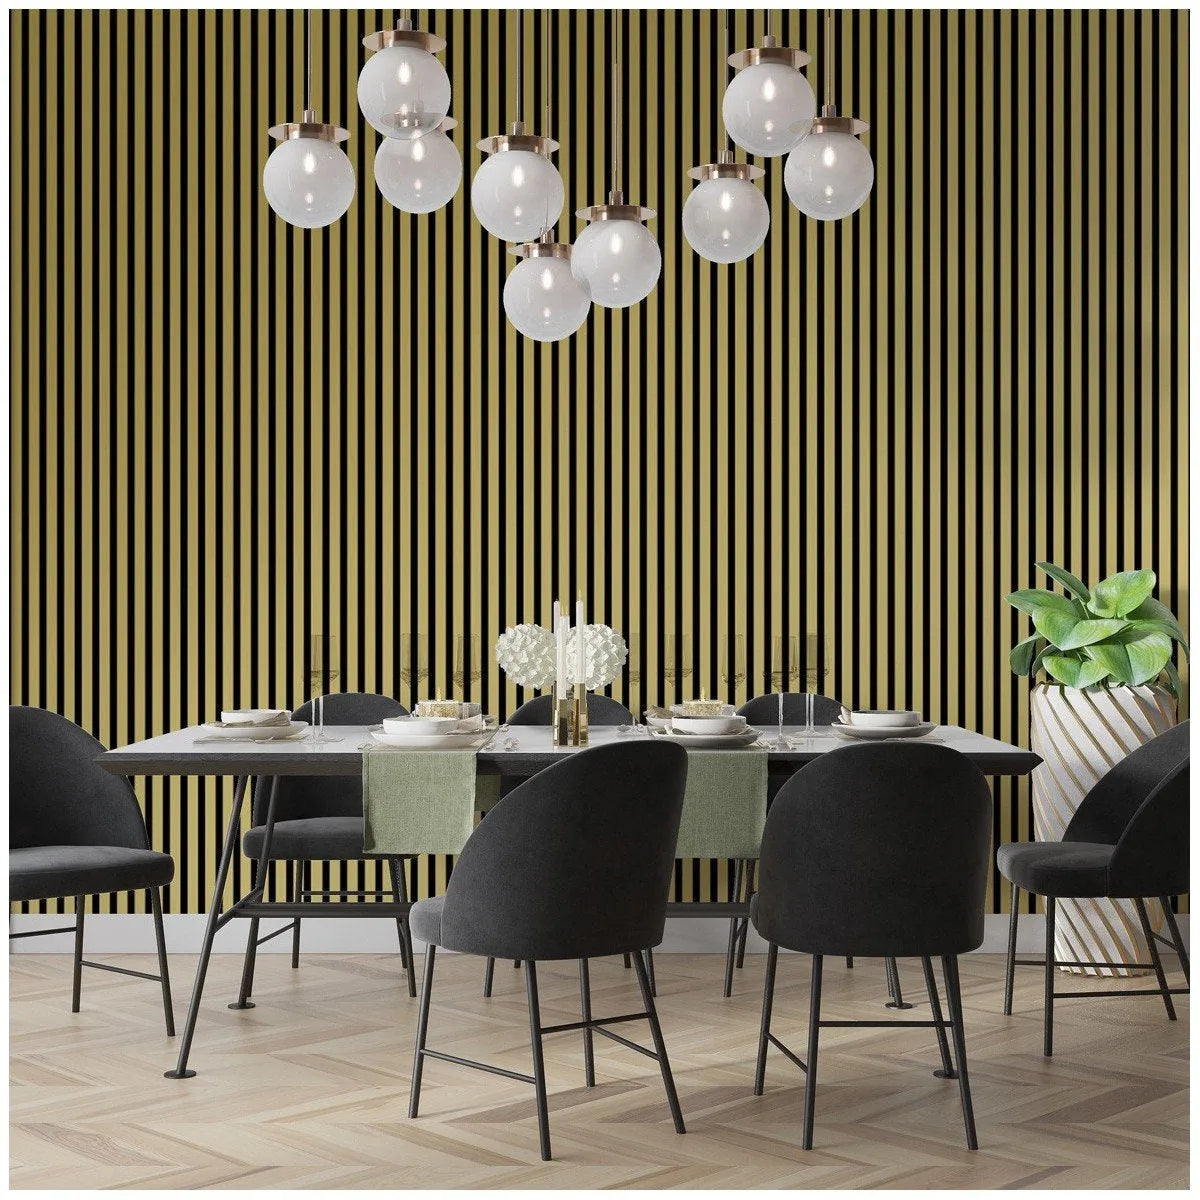
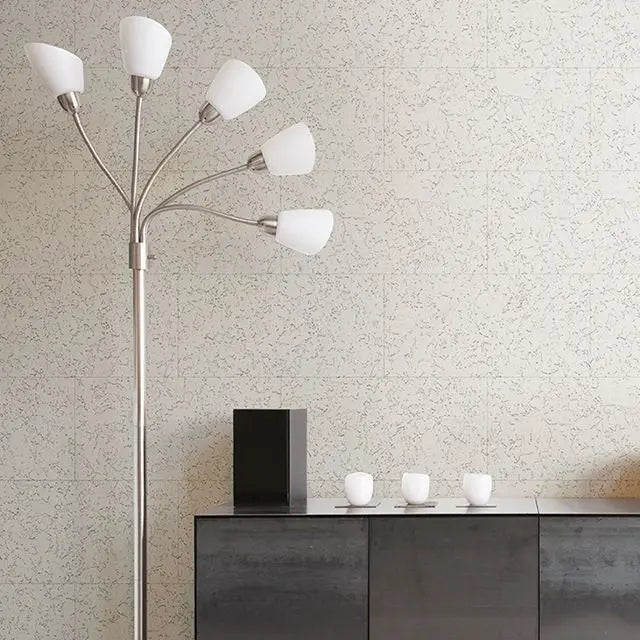
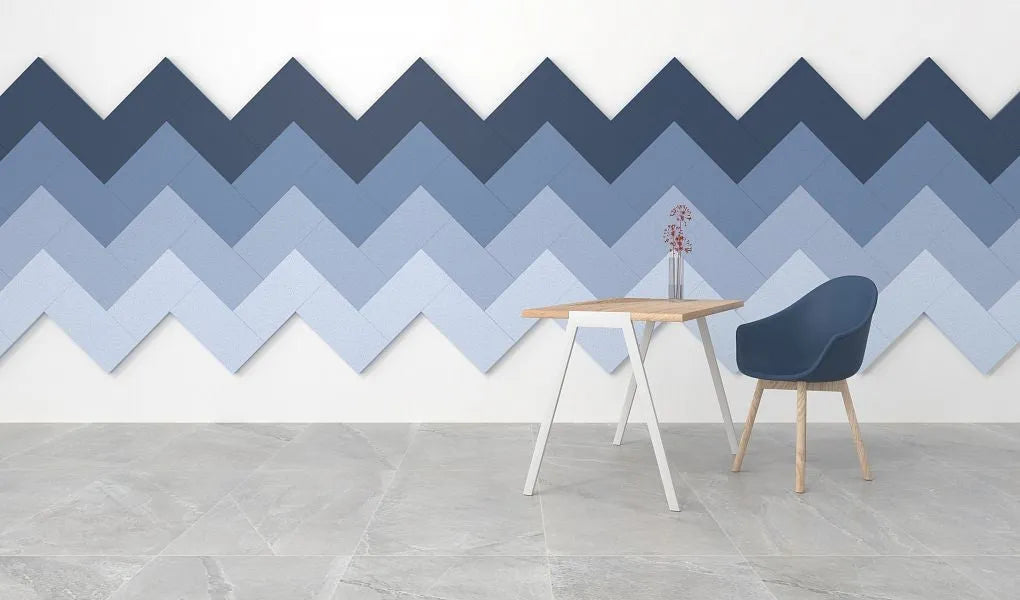
🎧 Acoustic Accent Wall – Line an entire wall in your home office or media room to reduce sound reverb.
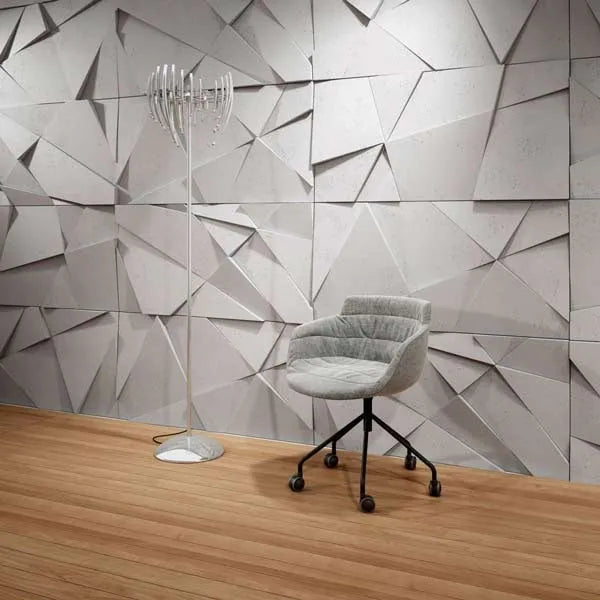
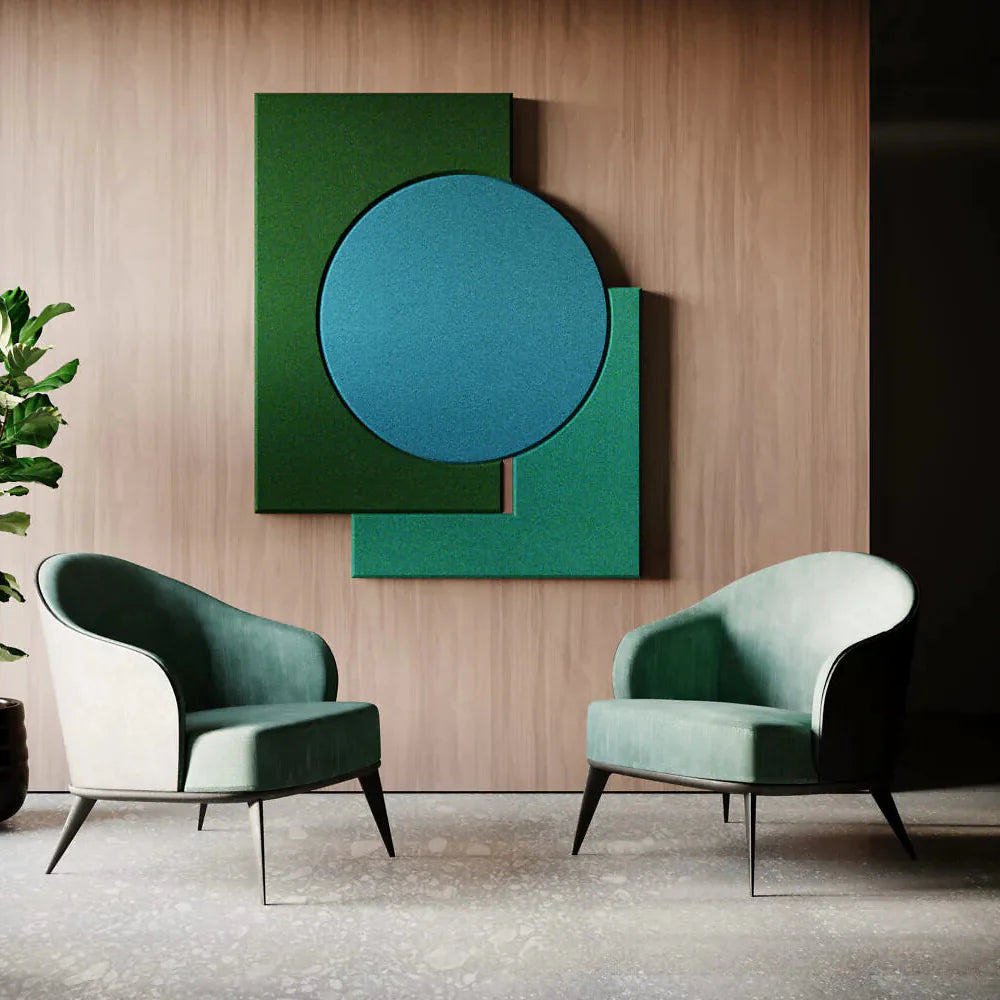
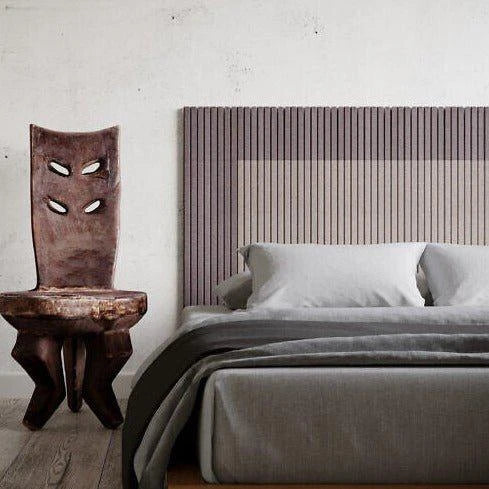
🎨 Statement Panels – Arrange 3 to 6 tiles behind your desk, bed, or sofa for a minimalist design feature.
🌈 Mix & Match Shapes – Try combining Diamond Stripe with Weave Panels for a dynamic visual effect.
📐 How Many Panels Do You Need?
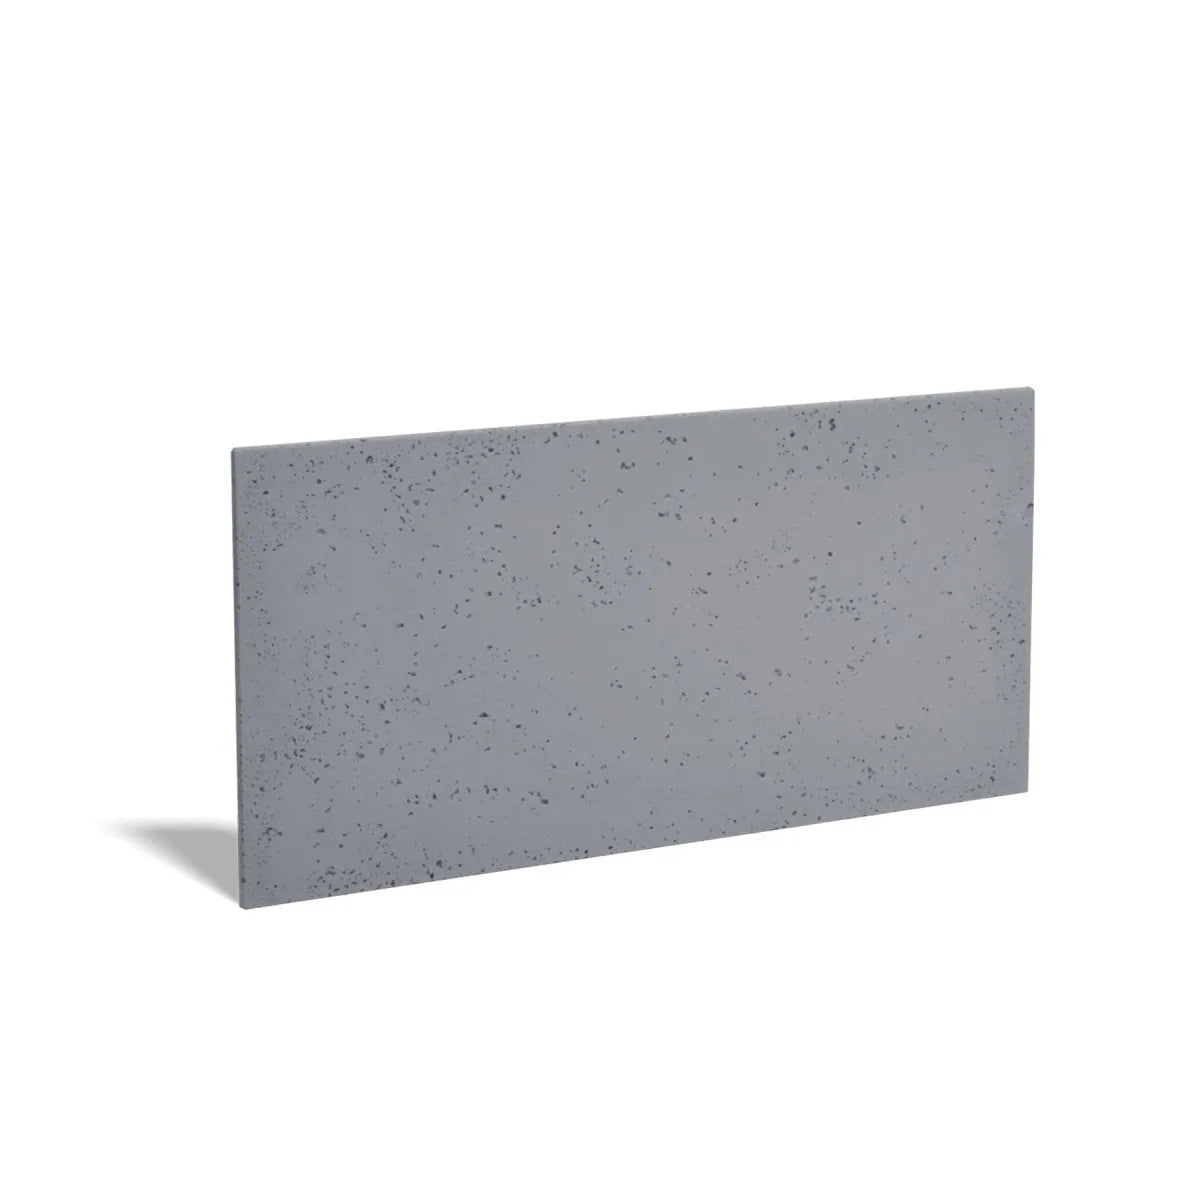
- Each cork panel covers a certain area (usually around 0.18–0.25 m² depending on shape). To calculate how many you need:
Step 1: Measure your wall in m²
Step 2: Check the coverage per panel on the product page
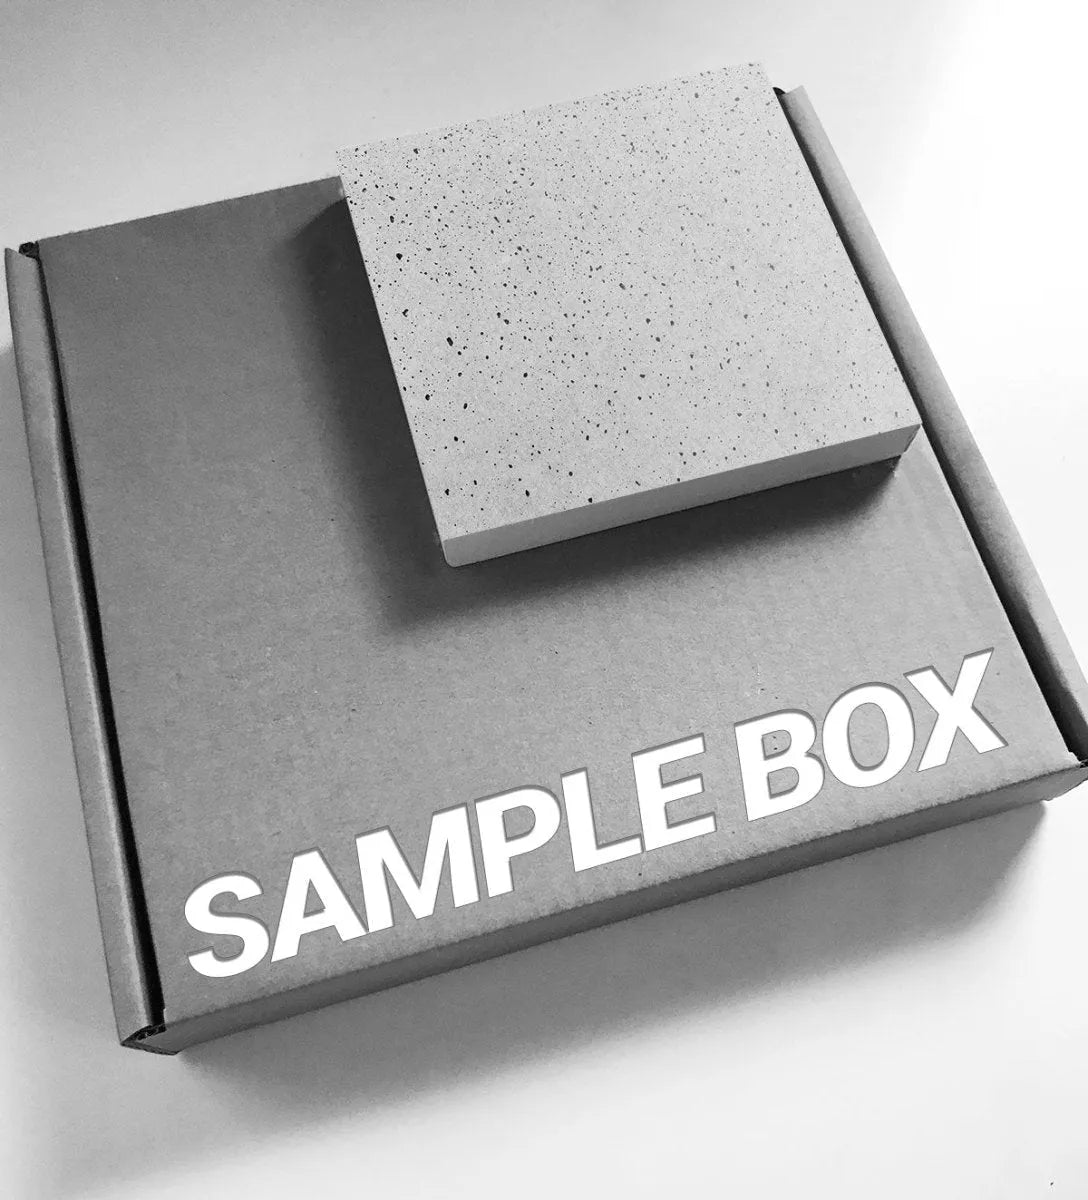
Step 3: Divide total area by panel coverage and round up💡 Order 10% extra for off-cuts and future repairs. You can also grab a Cork Panel Sample to test colours and textures before committing.
🧽 How to Clean & Maintain Cork Wall Panels
- Cork is naturally durable and low-maintenance, but here’s how to keep it looking fresh:
Use a soft brush or dry cloth to remove dust
Spot clean gently with a damp cloth—avoid harsh cleaners
Avoid prolonged exposure to direct sunlight to prevent fading
Don’t soak the surface—cork is water-resistant, not waterproof
❓ Frequently Asked Questions: Cork Wall Panels
Are cork wall panels eco-friendly?
Yes! Cork is one of the most sustainable materials available. It’s harvested from the bark of cork oak trees without cutting them down, allowing the bark to regrow naturally.
Can I install cork panels myself?
Absolutely. Cork wall panels are lightweight and easy to install using grab adhesive—no nails or special tools required.
Do cork wall panels help with sound absorption?
Yes! Cork’s natural cellular structure helps reduce echo and absorb sound, making it ideal for acoustic comfort in homes, studios, and offices.
Can I cut cork wall panels to fit around sockets or corners?
Yes, cork panels can be trimmed easily using a sharp utility knife or fine-tooth handsaw for a snug, custom fit.
Are cork wall panels water-resistant?
Cork is naturally resistant to moisture, but it’s not fully waterproof. It’s best used in dry interior spaces. Avoid soaking or scrubbing the surface.
Recap: How to Install Cork Wall Panels
Measure your wall and plan your layout on the floor
Clean the wall surface thoroughly
Use strong grab adhesive—no nails needed
Press each panel in place and align carefully
Trim with a utility knife or handsaw as needed
Let cure for 24–48 hours before handling
Enjoy your new acoustic, natural-texture wall!
💬 Final Thoughts: A Cork Wall Panels DIY Upgrade That Sounds as Good as It Looks
Installing cork wall panels is one of the easiest and most eco-friendly ways to give your walls character, warmth, and acoustic comfort. Whether you choose the calming geometry of the Diamond Line, the bold texture of the Weave , or the playful geometry of Kite Panels —you’re choosing nature, design, and function in one beautiful product.
👉 Explore the full range at Decormania.eu – Cork Wall Panels Collection and get inspired.